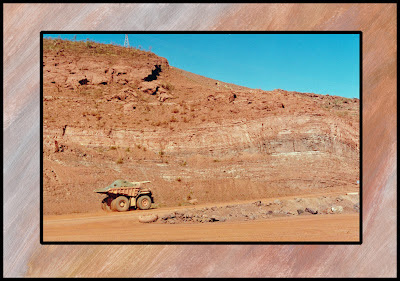
I haven't done any digital bits for a while so I thought it was about time. I keep some examples of things that I really don't like as well as ones that I do (although not as many of them!). It sometimes helps to try and work out what it is that you don't like, so that you can produce more work that you do. (If that makes sense). My start image was this rather horrible concoction of stuck together papers and brown paint stamped on with a cork so.......what don't I like? Well, for starters the colours are foul, the white panel is too stark and the cork stamping just looks like muddy blodges. so can it be saved??
I opened up the picture in Elements and started with the colours which just don't work together. I played around with variations adding lots of blue and green until it looked a bit better. The cork stamping still looked a bit splodgy and messy to I went into the filters gallery and from the Pixelate section selected and applied "Pointillise" which introduced a little order to the "blodges". Last of all I just used the elements cookie cutter tool to cut out a butterfly and there you are...!!
Truthfully, I probably won't ever use this background again, but I had fun trying to make it at least semi-presentable!!
Playing with paper - a technique a week for those who enjoy the journey as well as the destination!
Showing posts with label Digital techniques. Show all posts
Showing posts with label Digital techniques. Show all posts
Saturday, 1 November 2014
Saturday, 31 May 2014
BACKGROUNDS IN ELEMENTS WITH DOODLED BRUSHED
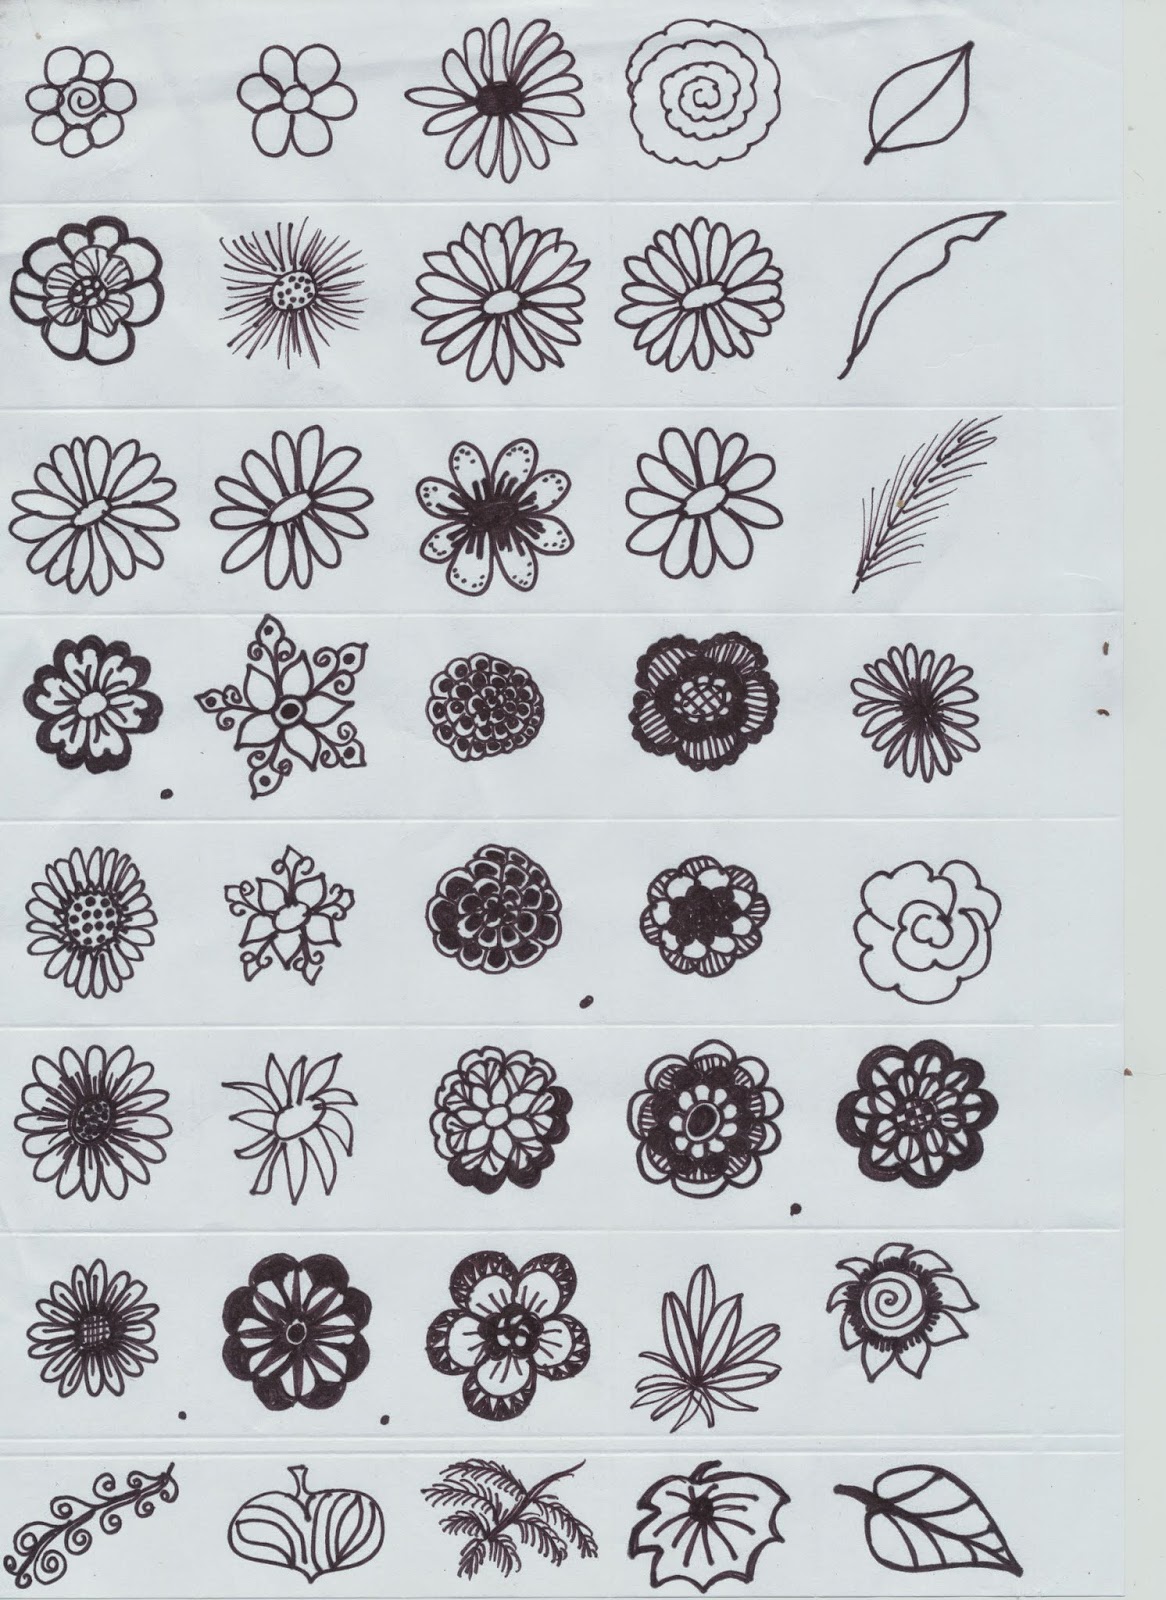
If you have Photoshop Elements then its easy to make your own backgrounds. I've used my score board to divide a white A4 paper into 2.5cm squares, and each I've doodled a vaguely flowery or leafy shape with a black marker. Some turned out well, others not so.........at this stage it doesn't really matter.
Use the selection tool to select one that you like then click on "Edit" then "Save as Brush." Name it if you want to. After this its a matter of opening a new file in whatever size you want, make the background whatever colour you want, then click on the brush tool. Go up to the little picture at the top which shows the brush you've chosen and click on the arrow. Scroll down and select the brush you have just made. Chose a size and colour and off you go. Here are some examples from my sheet...........
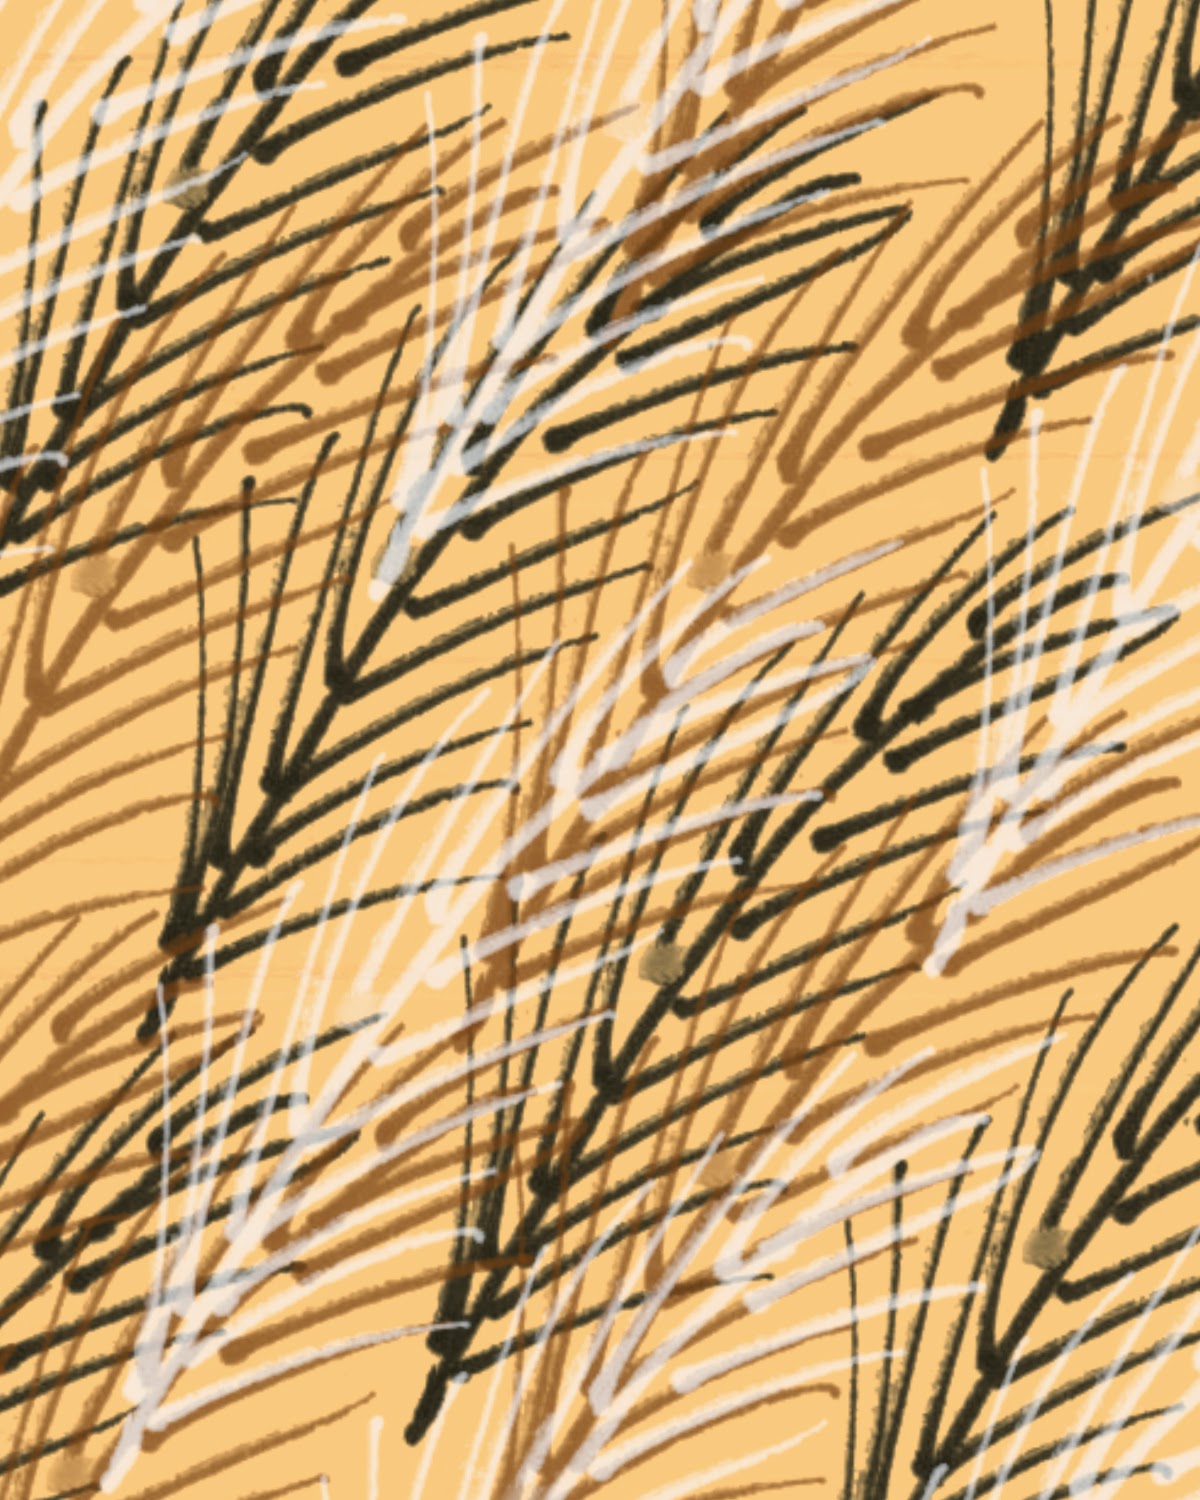
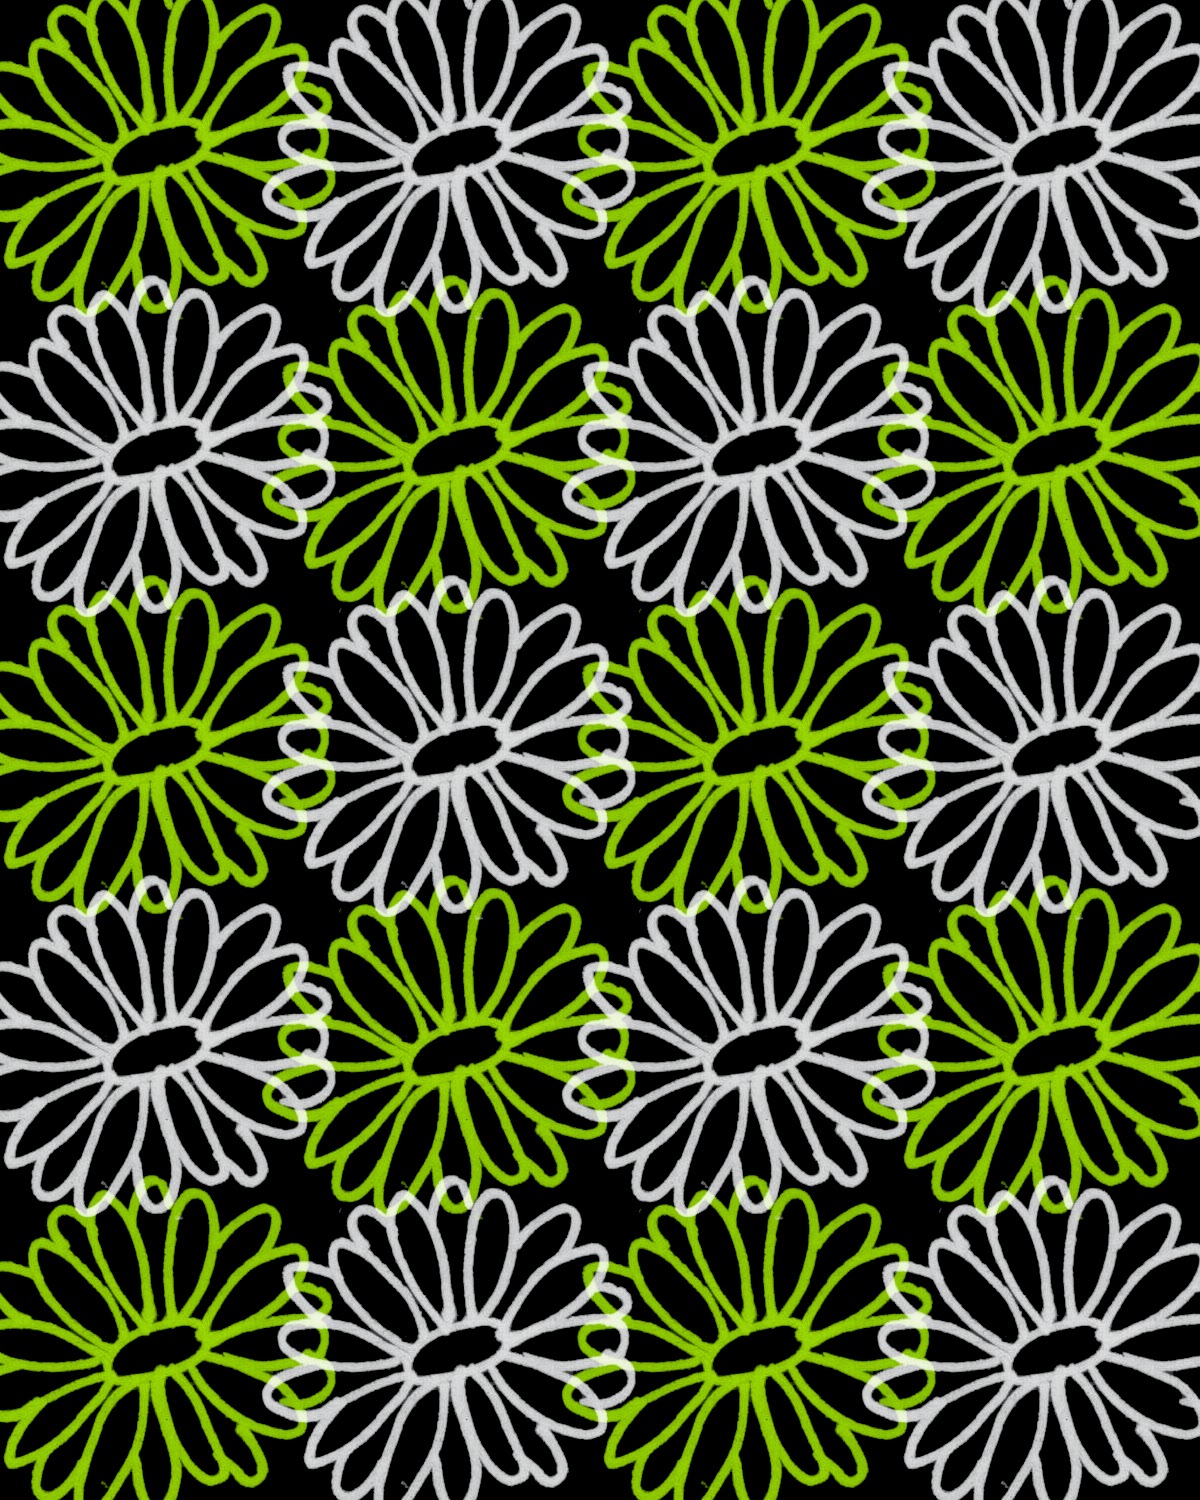
Use the selection tool to select one that you like then click on "Edit" then "Save as Brush." Name it if you want to. After this its a matter of opening a new file in whatever size you want, make the background whatever colour you want, then click on the brush tool. Go up to the little picture at the top which shows the brush you've chosen and click on the arrow. Scroll down and select the brush you have just made. Chose a size and colour and off you go. Here are some examples from my sheet...........


Labels:
Background techniques,
Digital techniques
Location:
Riverside TAS 7250, Australia
Saturday, 23 November 2013
PRINTING ON BOOK PAGES
 |
| PAGE TAPED TO A4 PAPER |
 |
| CLOSE VIEW |
Saturday, 25 May 2013
CROCHET WITH FILTERS
 |
| PHOTO OF CROCHET MAT |
 |
| EMBOSS FILTER |
 |
| GLOWING EDGES FILTER |
 |
| PHOTOCOPY FILTER |
 |
| STAMP FILTER |
Labels:
Background techniques,
Digital techniques
Location:
Riverside TAS 7250, Australia
Saturday, 24 November 2012
HEAT EMBOSSED INK JET PRINTING .......OR NOT!
Tempted as I am to pretend that everything I try always turns out beautifully, I have to be honest and say that quite often it doesn't. Not that I mind too much.....its all part of the process. this is an example of something I really want to be able to do, but just haven't quite managed to master - heat embossing ink-jet printing. I have seen lots of references in magazines etc. to other folk that have clearly had more success than me, and suspect it may have something to do with paper branding and/or weight. In this example, I printed out the word "July" on gloss photo paper (as advised by one article), applied copper embossing powder and was happy to see it melting as it should when the top coating of the paper swelled up like a piece of bubblegum (quite impressive), and popped (also kind of funny), leaving the end result rather sad and sorry. Perhaps if someone out there has tried this with greater success, they might like to offer advice. Otherwise, I'll keep working on it when time allows until I get it right!!
Saturday, 10 November 2012
PLAYING WITH PENCILS
 |
| ORIGINAL SCAN |
 |
| PATTERN FILL |
 |
| 2CM SQUARE |
 |
| PALETTE KNIFE |
 |
| STAINED GLASS |
Labels:
Background techniques,
Digital techniques
Location:
Riverside TAS 7250, Australia
Friday, 19 October 2012
PEN ON EMBOSSED DIE CUT
I've combined a few leftovers from previous posts in this little ATC sized card - the left side is printed with paint on hessian, the leaf is a crayon rubbing from an actual leaf and the middle of the paper flower is a stamp pressed into paper clay. The "new" technique is a bit of a no-brainer but I honestly haven't bothered to do it before. The scrabble tile letters are from a set of Spellbinders dies by Donna Salazar. I wanted a very distinctly black colour on the letters so instead of chalking or inking the embossing I just coloured them with a fine black pen whilst they were still in the die with exactly the result I wanted. I'm going to try some more with a permanant pen on an ivory card and then add a thin layer of dimensional magic - hopefully to achieve the effect of a real scrabble tile.
As I was using left-overs, the colours were a bit um....yes, well......, so after I scanned the card I converted it to black and white and the "colourised it" with Elements.
As I was using left-overs, the colours were a bit um....yes, well......, so after I scanned the card I converted it to black and white and the "colourised it" with Elements.
Labels:
Colouring,
Digital techniques,
Embossing,
Punches and Die-cuts
Location:
Riverside TAS 7250, Australia
Saturday, 6 October 2012
PRINTED VINTAGE CARD
I was lucky enough to find a lovely illustrated children's book from the 1920s at Evandale Market a few months ago. It wasn't in brilliant condition but I scanned a few of the pictures, cleaned up the marks using Elements, and brightened the colours, and was amazed at how well the pictures emerged.
(I believe the coypright should have expired by now). I resized this image and printed it onto a textured singlefold ivory card. You can't really see the texture in the picture but it really adds to the overall effect. I added a little version to the back and as strip of Japanese paper inside. Best of all there are lots more pictures left to play with!!
(I believe the coypright should have expired by now). I resized this image and printed it onto a textured singlefold ivory card. You can't really see the texture in the picture but it really adds to the overall effect. I added a little version to the back and as strip of Japanese paper inside. Best of all there are lots more pictures left to play with!!
Labels:
Digital techniques
Location:
Riverside TAS 7250, Australia
Saturday, 18 August 2012
VERY EASY PAINTED BACKGROUND
Two postings in one day! I was asked to put this background up after the recent demo I did. So here it is!!
Its a super easy one - I wanted some background paper on which to mount my pictures of the Pilbara, and so just blobbed some silver, gold and copper straight onto light card (directly from the tube of acrylic paint), and spread it with a brush so that areas blended and the whole page was covered.
For something that took two minutes it turned out exactly as I had hoped, and I'll be making some more.
I scanned it and used it to make up a title too. (Just open another layer over the top of the scanned painted paper, type in your title, select it using the magic wand tool, then cut out the selection to reveal the painted "filling" underneath before collapsing the layers.
LEAF RUBBINGS
 |
| Original Leaf Rubbings |
 |
| "Stamp" |
 |
| Color Burn, Diffuse Glow |
Labels:
Crayons,
Digital techniques,
Rubbing
Location:
Riverside TAS 7250, Australia
Saturday, 26 May 2012
SHELLMAN
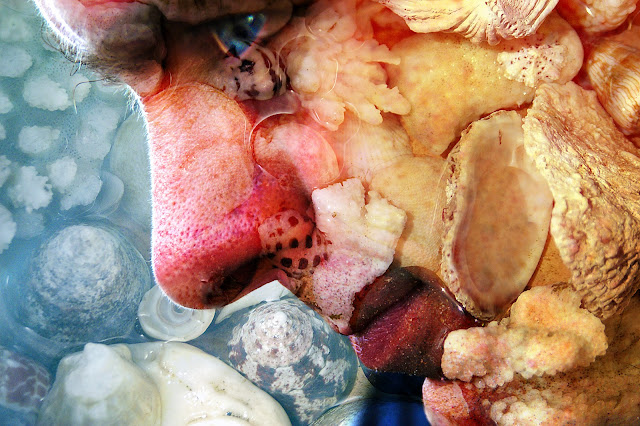
Just for a complete change....here is a
photo I made years ago (yes...I know the idea is to try new things
but when I rediscovered this image I couldn't resist a little “show
and tell”). As a long time passed since I did this, I can't
remember the specific details, but it doesn't really matter as each
photo is unique and will need slightly different treatment to get a
similar result. The process if you want to play, though, is
straightforward. Take two photographs – a close-up of a face
(side-on may work best as there's more skin and less features), and
something for “texture”. My husband who only looks half this
scary in reality was “the face” and the texture was a dish of
shells (you could use a tree trunk or grass or dog fur or pasta etc
etc). In Photoshop or Elements open both pictures and
drag the texture over the face. Try each of the blending modes in
the layers palette until you find one you like. Now you need to
select the eraser and remove the texture from any important details
that may be obscured. This is especially important for the eyes, as
they are the feature that attract most attention. In this case I
then selected the eye and increased the saturation so it was quite
intense, and added a little glint of “light”with the brush tool,
although this is optional. Finally collapse your layers and save the
image. You won't always get wonderful results but its fun playing
around until you find a successful combination.
Saturday, 28 April 2012
AUTUMN LEAVES

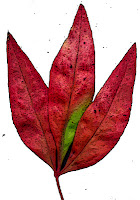
Well its Autumn!!! I couldn't resist picking some leaves from the garden and scanning them so that I could use them in digital projects. I put a black sheet of card behind so that selecting individual leaves would be easy (using the magic want tool). The individual leaves have been run with the “poster edge” filter in Elements although you could use many of the others to great effect (or just leave them alone!). I've reassembled the single leaves into one composite picture which is a bit kitsch but gives the general idea of the whole copy and paste thing.....I'm sure the leaves could be used in much more tasteful ways!! (For the keen gardeners....yes there is one ring-in...a Nandina leaf). Feel free to copy the leaves and play.
Saturday, 14 April 2012
CRUMPLED TISSUE PAPER
This is a super
easy background that I have seen in several books and on other sites,
and yet somehow haven't actually tried out until now. It just
seemed too simple.......Now I wish I'd played with this idea earlier.
All that it needed is some tissue paper, glue and cardboard backing.
Scrumple up the tissue paper (I repurposed some that came with my new
shoes). Coat a sheet of card ( I just used 200g white copier card)
with glue (I ended up using Aquadhere on the sound grounds that it
was sitting on my work table at the time). Then stick the crumpled
tissue onto it, retaining most of the wrinkles in the paper. Trim
the edges and that it! It looks good enough to use “as is” but
you could colour with paint or highlight with ink.
As a digital
card/scrapbooking background it can be scanned and easily coloured in
Elements by selecting the “Enhance” then “Adjust color” then
“Adjust Hue and Saturation”. Tick the colorize box and play
around with the sliders until you've achieved the desired colour.

 The thing that I
think I'll be doing most often, however, is to use the scanned paper
to add texture to photos. Open your scan of crumpled tissue , then
open the photo you wish to use. Hold the left button down and drag
the tissue scan from the project box onto the photo. Then play with
the blending modes until you find one you like. The Church at the left used "Color Burn" and the one on the right used "Hard Light."
The thing that I
think I'll be doing most often, however, is to use the scanned paper
to add texture to photos. Open your scan of crumpled tissue , then
open the photo you wish to use. Hold the left button down and drag
the tissue scan from the project box onto the photo. Then play with
the blending modes until you find one you like. The Church at the left used "Color Burn" and the one on the right used "Hard Light."Saturday, 3 March 2012
DIGITAL RESIN FLOWERS
I can't decide whether or not I like resin flowers, but when I was playing
around with some of my flower pictures I worked out that it was
actually super easy (if you have Elements or a similar programme) to
make a digital variety to experiment with (or “with which to
experiment” if you don't like sentences ending with prepositions –
blame my husband for the little voice in my head that made me add
this). Here is how to make your own digital resin flowers
- Pick a suitable flower and photograph it on a piece of black paper. (There are less shadows in black backgrounds so the area is easier to select with the magic wand)
- Select the background by clicking on it with the magic wand tool (four down on the left in the tool menu), making sure that the box labelled “Contiguous” at the top of the page is ticked. Click on Edit at the top of the page, and then “Cut”.
- If necessary (and with any luck you won't have to do this) tidy up any messy bits around the edges of the flower with the eraser tool (side menu)
- Click on the new background with the magic wand tool again then click on “Select” (at the top of the page) and then on “Inverse” so that the flower is selected.
- Next click onto “Filter” (also at the top), then “Artistic” then “Plastic wrap.” Put the side sliders to high Highlight strength, low Detail and medium Smoothness. (Play around until you like the effect)
- Go to “Enhance”, then “Adjust colour”, then“Adjust Hue and Saturation” and click on the “Colorize” box to put a tick in it.
- Now play around with the Hue and the Saturation sliders to make the flower the colour that you want.
- Now copy and paste into your project or save your flower for future use (remember to select it each time so you don't get the background too!) You can add a bevel from the Effects menu if you want a more three dimensional look.
Saturday, 25 February 2012
GESSO, GEL PENS AND EMBOSSING
This is a hybrid card but
you could make something very similar without your computer. To make
the background, I embossed lightweight black card with the Cuttlebug
Owl Flourish folder. I roughly coloured in parts of the owl and
swirly bits with gold and silver pens and then covered the lot with a
thin coating of gesso. After it was completely dry I gave it a light
sanding. I was a bit disappointed that the gold and silver didn't
show up quite as well as I'd hoped, but was still pleased with the
overall result. (See small picture) From this point on, I scanned
the result and added the border (stroke in dark grey sampled from the
image), greeting (in the same colour), moon (highly feathered
circular selection filled with light gold on a separate layer so a
little could be removed with the eraser from the owl) and eye
highlights (oval selections filled with white) with digital effects. You could easily achieve similar results by mounting the owl on a
dark grey card, stamping and embossing a greeting, sponging on gold ink for the moon,
and finally adding eye highlights with a white gel pen.
Subscribe to:
Posts (Atom)


