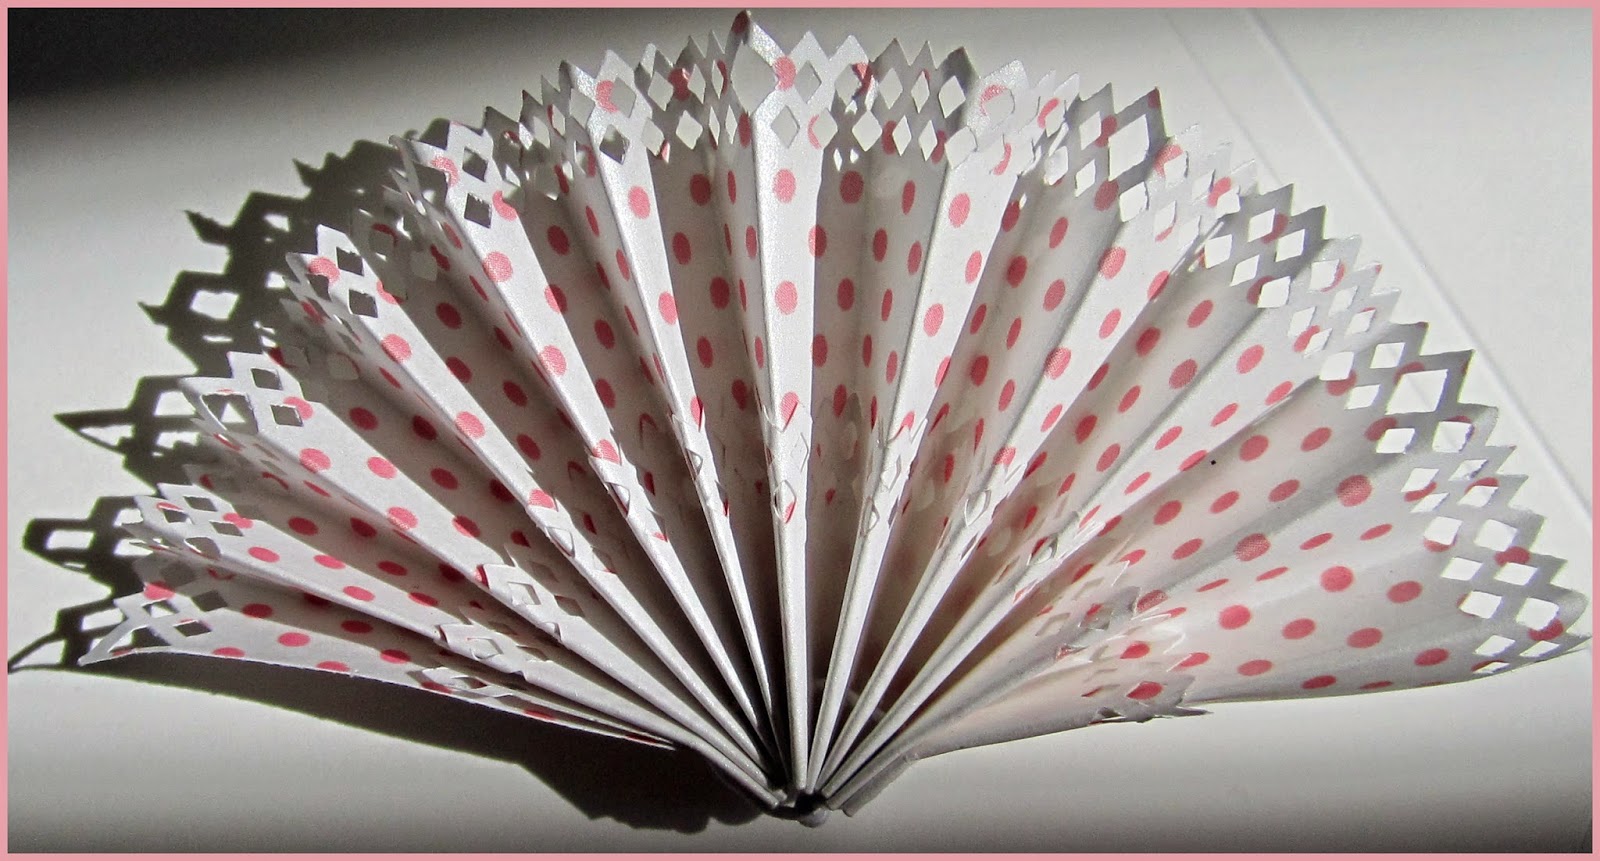
Saturday 30 August 2014

TORN PACKAGING FOR BACKGROUNDS AND TEXTURE

TORN PACKAGING FOR BACKGROUNDS
People are ripping packing card apart all over the internet at the moment.  More talented folk than me are even ripping patterns and complicated designs.  I thought at the very least I should give it a go.  As I don't do a lot of grunge style work I wasn't anticipating it being very useful for my cardmaking but the effect is kind of compelling and may yet find its way to a sample card or two in the future.

It did, however, occur to me that a scan or photo of the torn card would make a terrific texture to add to some of my photos.  The two I've played with aren't "quite there" but, as you can see, its worked well enough to justify a bit of playing around.  Just drag the torn card photo on top of another picture and play with blending modes in Elements, if you'd like to try for yourself.

SUPER-SATURATED AUTUMN LEAVES
+ TEXTURE

SEPIA + TEXTURE

Saturday 23 August 2014

CUT A RECTANGLE WITH A SQUARE DIE

RECTANGLE FROM A SQUARE DIE
This is one of those simple techniques that seems almost self-evident after someone has shown you how to do it!!

Position your die and paper in your Cuttlebug, roll through almost, but not quite to the end, then roll backwards.  Reposition the die so that the scallops align, at the end.  (You might want to use some removable tape to make sure it stays in place).  Roll through to complete your cut.

That's all there is to it!!  I'm not sure how it would work in other die-cutting machines but expect the same principle would probably apply.

Saturday 16 August 2014

SLIGHTLY MORE THAN SIMPLE FANS


THE FINISHED FAN
 A couple of techniques to share with this folded fan.  We all made them when we were kids, didn't we - even without the benefits of scoring boards, and bone scorers.  I think we used to secure the bottom either by folding it over a couple of times or stapling it together!!

Here are three folded fan ideas.
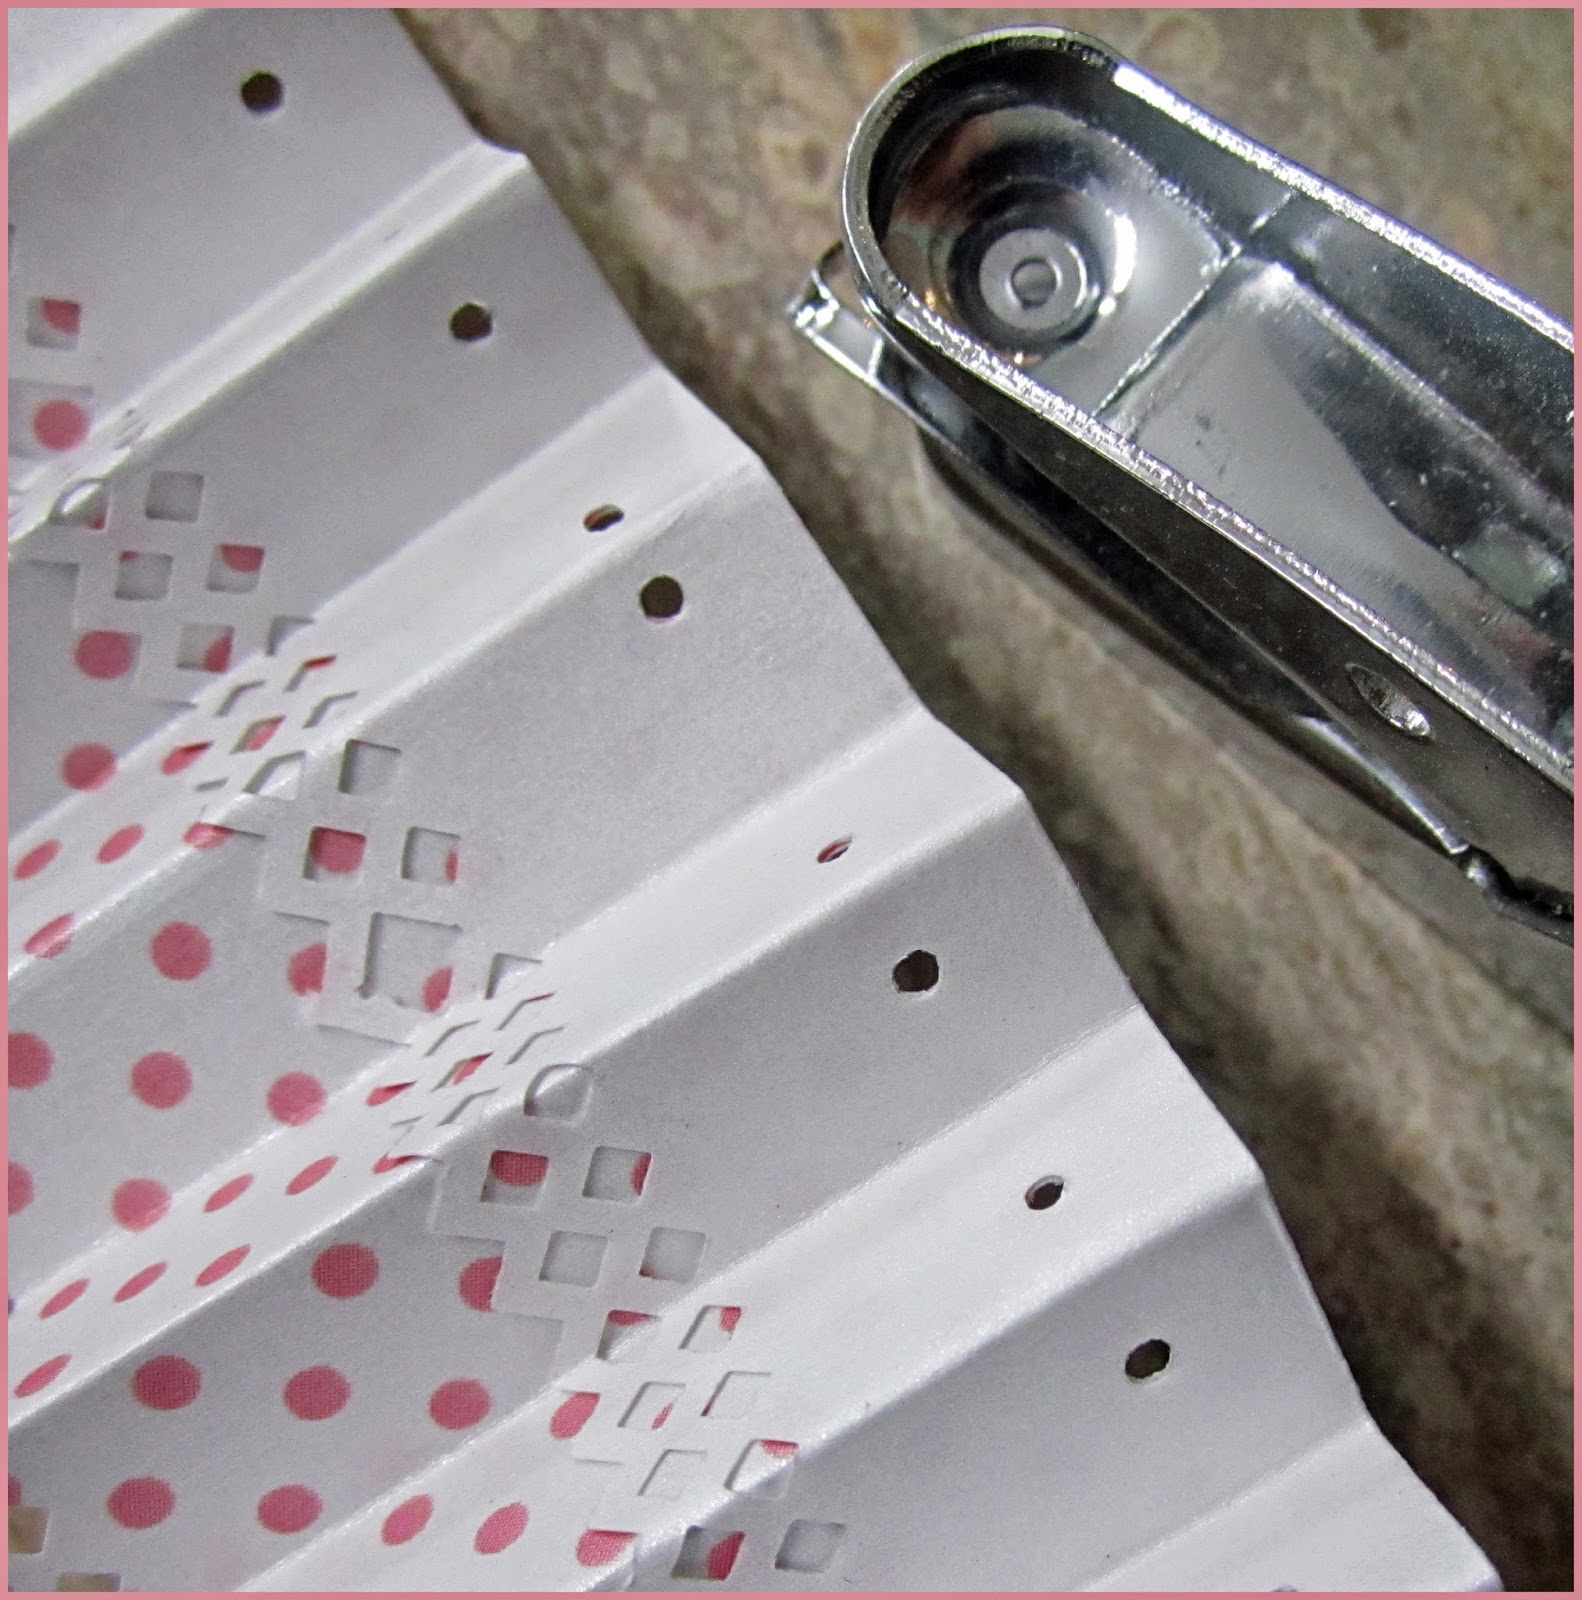
FOLDED AND PUNCHED LOWER EDGE
1.  Use a border punch to add a decorative edge to both sides of the strip.
2.  Bend the bottom up so that the reverse colour (in this case white) makes a contrasting section at the base of the fan.  (After posting this I realize I probably should have used a less subtle contrast in my example - but give it a try if you want to see for  yourself how much it adds to the "basic" fan.)
3.  Staples are a bit ugly (unless you're going for a grunge or industrial look) and are a bit hard to get through lots of layers, and glue can be messy and hard to apply in all those pleats, so an alternative way of securing the bottom is to punch along the (in this case, folded) bottom edge with a small circle handpunch, then thread thin white-coated wire in and out of the holes.  Fold up the paper, pull the wire tight and twist the edges together to secure.

Happy fan making!!!!


Saturday 9 August 2014

ENGRAVING WITH A DIE

ENGRAVING WITH A DIE
Another simple little Cuttlebug idea that came about as a happy accident.  I needed to shim a die, and for reasons I won't bore you with, put a sheet of thick packing card under the top cutting plate to do the job.  The die (which is from Couture Creations), cut through the paper I wanted cut, but then cut into the thick packing shim without cutting right through, leaving a debossed/engraved image which actually looks much better in real life than the photo would indicate.
I think experimenting with using extra-thick card (or a couple of pieces of card) with the intention of NOT cutting the shape out  of one is worthwhile.  (Do adjust the stack accordingly, though, and never force anything through, as tough as they are Cuttlebugs and Bigshots are breakable if you overdo it.
A bit of inking over the top would add interest.  I think with a little effort I could probably get a nice engraved leather look.........but that will have to wait.  So much I want to do, so little time!!!!!!!!!!

Saturday 2 August 2014

STAMPED BABY WIPES

Stuck to card with Jac paper
Cut shell with babywipe background
Alcohol-free baby wipes make stamp-cleaning easy, especially if you're crafting away from home.

These really thick, soft ones from a well-known chain store (oh, OK, from Target) also make brilliant backgrounds.  No need to be too fussy - just avoid cleaning colours opposite each other on the colour wheel on the same cloth unless you want a bit of a murky mess (even that might have applications).

The next step of this "non-technique" came about when I left a recently (over) inked shell stamp face down on a cloth and found that it had left a very clear impression, even given a bit of bleeding of the ink.  Stuck to cardboard with double sided Jac paper, and then cut out with scissors, leaving just a little border all around, the shell makes a really interesting embellishment, with a great soft furry texture.