Saturday, 26 July 2014

ZENTANGLISH

ROSE CUT OUT WITH "DOODLES"
I had a few of these cards (which are still available from Regal Craft Cards) in the storeroom and was looking for something to do with them, apart from just colouring in, or putting some coloured fabric or paper behind the cut-out rose.

What I ended up doing - doodling - is hardly earth-shattering, but even so, I liked the end result enough to share it with you.  Its just black fine marker on white card under the main flower, and a white gel pen on black card under the leaves.

I tried to finish it off with a hand drawn border which turned out a little bit less than amazing but I still like the idea.

I think I'll have another go at this.  Any card with a cut-out could be used.


Saturday, 19 July 2014

3D WITH STAMPS

SIDE VIEW
 There are a couple of techniques to share this week.  The first is a background.  Versamark Dazzle is an ink pad that has a similar effect to normal Versamark (i.e. it shows stamped on dyed-through papers a shade or two darker than the paper colour) but adds a little sparkle as well.  Its not over the top, just a subtle shimmer (which obviously doesn't photograph easily).
The background here has been made with a variety of Darkroom Door stamps.

3D SHELL CARD
The main shells are from Graphic45, which brings us onto technique 2, which is to add a little dimension by stamping two images, cutting the second smaller than the first and then fixing it over the top with foam tape or silicone glue.  It works best if you do a little shaping first.  There are tools and mats with which you can do this, but gently stroking the middle of the shape in the palm of your hand works for a little project such as this one.

Saturday, 12 July 2014

FOLDED FLOWERS

FOLDED FLOWERS
I had a little space under the TV that kind of needed to be filled with something.  As I have many "somethings" that I'm not greatly fond of, I folded up these flowers as a "stand in" until I found A "something" I really loved. I'm actually kind of liking them so maybe they'll stay a while.  There are really clear instructions at:
http://foldingtrees.com/2008/11/kusudama-tutorial-part-1/

Saturday, 5 July 2014

LEAF-PRINTED BACKGROUND

LEAF PRINT BACKGROUND
 I bought a really nice set of leaf stamps recently, but there is an alternative - real leaves!!  This little bunch came from a banksia rose.  I just dabbed some Versacolour ink directly onto the underside of the leaves. Pigment inks are a bit stickier than dye-based ones and I suspect work best for this, though I'm happy to be corrected.  I'd already made a base background by "printing" with distress inks on an acrylic block (as in a recent post).  the brighter green is the first print, the more subtle example is the second print.  I placed the inked leaves on top and brayered over the top to apply an even pressure, and made a couple of prints before re-inking.  I applied them in a random way, similarly to the stamps in last week's example.
The results with rubber stamps are obviously more predictable but this approach will produce a truly unique result (which you can of course scan if you want to reproduce it).

Saturday, 28 June 2014

OVERSTAMPED BACKGROUND ON TEXTURED CARD

 Perhaps I should have called this the "Background" blog but for whatever reason its backgrounds that are interesting me most at the moment.  I guess I'm trying to wean myself from reaching for the patterned paper all the time, and I'm pleased to find there are many quick alternatives.  This one in particular, takes less time that cutting paper to size and putting on some doublesided tape.

OVERSTAMPED BACKGROUND
In this example I've stamped multiple times onto a textured ivory card, inking about every third time, and stamping over the edges.  I tried with a few different stamps but it seems to work best with a fairly solid one (the flower and shell are both from Darkroom Door).  I used Versafine ink, which is good for detail because even although the result of the overstamping and the texture is abstract, I wanted the shape to remain evident.

To complete the card, I would stamp a single image onto co ordinating smooth card, double mount it on ivory and green (or blue for the shells) and place it in the centre of the card.  Of course, that's just one option.

Saturday, 21 June 2014

SALT AND ACRYLIC WASH BACKGROUND

SALT AND ACRYLIC WASH
I love this paper!!   Just brush a very watery layer of acrylic paint over a sheet of thick paper (I use a dark green paint from Kaiser), then sprinkle with salt (I used ground sea salt).  After its thoroughly dry brush off the salt and you're left with tiny little specks where the grains of salt lay.  In this example they look a bit like miniature moon craters.  I think you could do some great faux rust with oranges and red.
I've seen this technique used with different colouring mediums (watercolours, ink) and different salts, and suspect all the combinations may produce somewhat different results - certainly worth exploring!!

Saturday, 14 June 2014

DISTRESS INK AND ACRYLIC BLOCK BACKGROUNDS

DISTRESS INK & ACRYLIC BLOCK BACKGROUND
As you can probably tell by now, I've just bought myself some new Distress Ink sets. I've been reading about inking backgrounds using a craft mat and wondered, given I usually worked on a small scale, whether or not an acrylic block would work.  It does!
Just blob a colour or two of distress ink straight from the pad onto a large acrylic block, spritz it with water until the colours start to run together and blend then either turn it over and "stamp" onto your paper/card, or alternatively, put the paper onto the block.  If you do the latter you can smooth it over with your hand which helps the colours to blend.
CLOSE UP

Saturday, 7 June 2014

BACKGROUND FROM CRUMPLED PAPER AND DISTRESS INKS

INKED CRUMPLED PAPER
DISTRESS INKS + CRUMPLED PAPER
 I was playing around with distress ink pads (easy to do now that they come in little cubes) when it occurred to me that I hadn't yet put the "classic" inked background on the blog.  I can't pretend that I haven't tried this a time or ten before but still......
Crumple up some thickish paper (thin is OK but it tears easily), unfold it without straightening it completely, wet it well, then just rub a bit of distress ink here and there.  I haven't gone overboard in these examples, so the ink has just caught the top of the folds..  When the paper is dry, flatten it more.  You can use it "as is" or carefully iron it with a coolish iron.  (Make sure the steam is switched off!). Any water-based ink will work, but distress inks are nice and runny to start with and are consequently easy to use for this technique

Saturday, 31 May 2014

BACKGROUNDS IN ELEMENTS WITH DOODLED BRUSHED

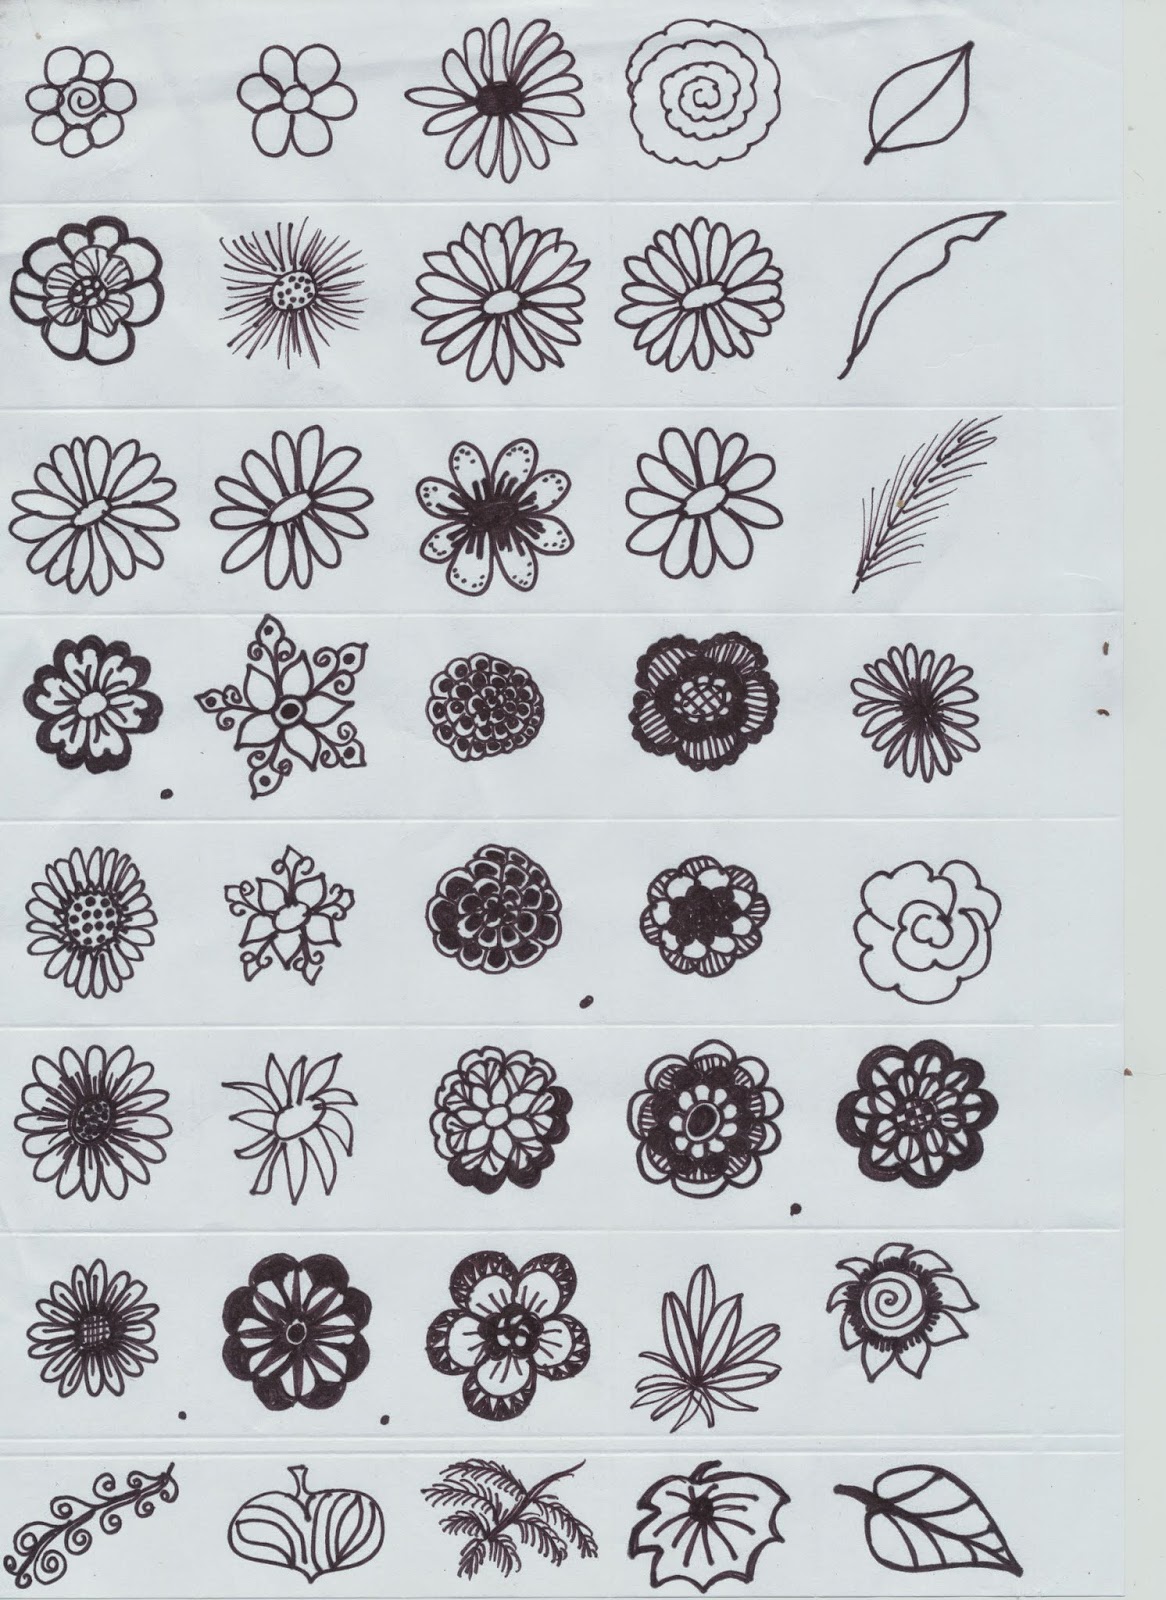
If you have Photoshop Elements then its easy to make your own backgrounds. I've used my score board to divide a white A4 paper into 2.5cm squares, and each I've doodled a vaguely flowery or leafy shape with a black marker.  Some turned out well, others not so.........at this stage it doesn't really matter.

Use the selection tool to select one that you like then click on "Edit" then "Save as Brush."  Name it if you want to.  After this its a matter of opening a new file in whatever size you want, make the background whatever colour you want, then click on the brush tool.  Go up to the little picture at the top which shows the brush you've chosen and click on the arrow.  Scroll down and select the brush you have just made.  Chose a size and colour and off you go.  Here are some examples from my sheet...........
 

Saturday, 24 May 2014

PENCILS OVER WHITE INK

PENCILS WITH WHITE INK
 This is an easy way to look like an artist.  Stamp on black paper with white ink (I've used a Versacube and a Darkroom Door stamp).  Colour over the top with pencils (I had some cheap kiddie ones on hand and only a selection of 6 colours, so imagine what you could do with "real" ones!).

Saturday, 17 May 2014

POWDER STAMPING - ONE THAT DIDN'T WORK!

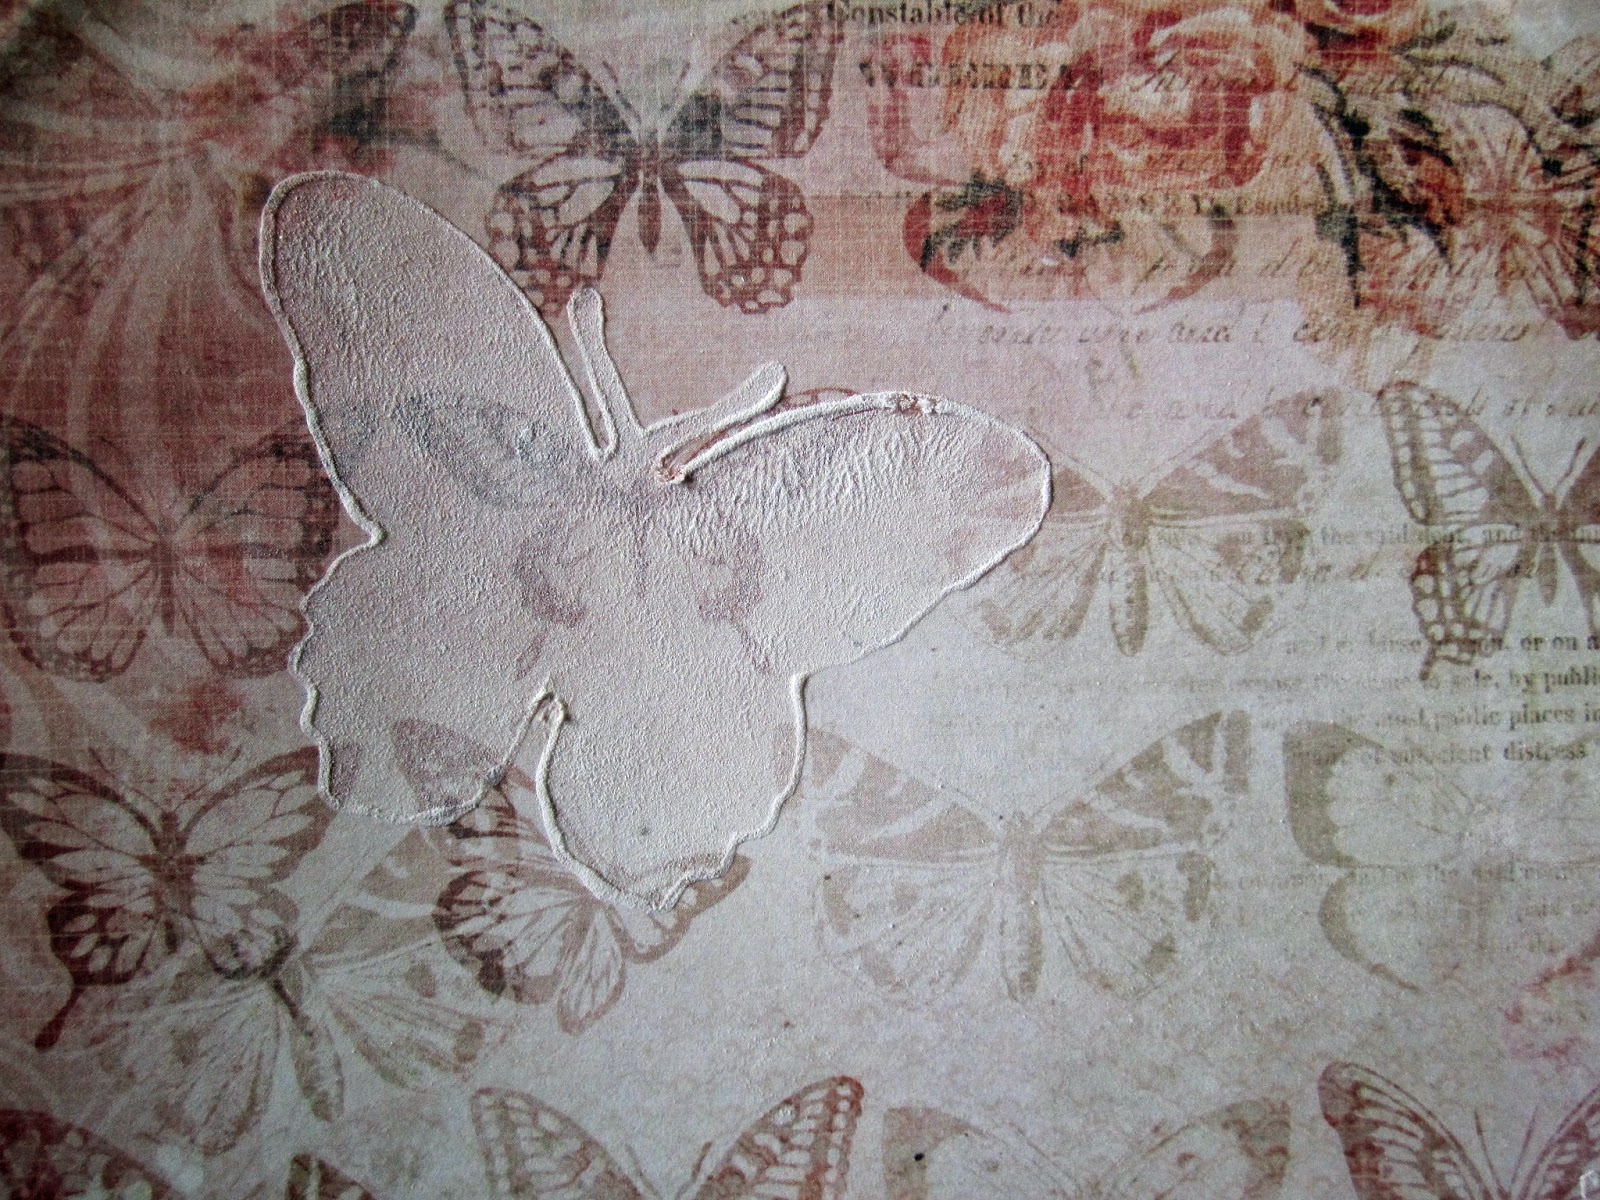
POWDER BUTTERFLY
I have a good habit of noting down ideas as I come across them and a bad habit of forgetting to write down the source.  In any case, this time, although I would usually make an acknowledgement, it probably doesn't matter, as this didn't work for me.

This could be possibly my fault as the original idea was to stamp with a foam stamp using wood glue and then sprinkle with talcum powder for a soft, suede-like result.  Not wanting to potentially ruin any of my stamps I die-cut a butterfly from fun foam and used that as a stamp, and because I used Mod Podge rather than wood glue as I figured both were more or less variants of PVA.

On the first attempt, I brushed the glue on, but the result was very ridgy and the glue oozed over the sides of the stamp.  On the second try, I applied the glue lightly with my finger, as you can see the glue still migrated to the side when pressure was put on the stamp.  Not only that but most of the powder rubbed straight off when the glue was dry.

Despite the fact its very messy, I might have another try as I did like the general result.  Perhaps this time I might mix the talc with the glue and apply it through a stencil - I think it would stay put then.  If not, a sealer might help.

In short, I can't recommend you repeat this technique but at least I might have saved you some time if you wanted to try it.

Saturday, 10 May 2014

STAMP SCRAP STAMP

BACKGROUND STAMP
I'm a huge fan of Darkroom Door stamps - the only downside is that they have to be cut apart.  I haven't actually managed to wreck any yet but the possibility is always in the back of my mind.

Every downside, though, has an upside and all the little leftover bits of rubber will cling to an acrylic block to make a great background stamp.  I dismantled this one before it occurred to me that if I'd stamped it in brown on golden yellow it would be a great "giraffe" fur background....oh well, I can always do it again.

I guess if you were very keen you could cut the little bits of rubber into brick shapes or "stones" but I kind of like the random nature of just using them "as is" (or perhaps I'm just a very lazy person?)

Saturday, 3 May 2014

RAINBOW VELLUM AND SILHOUETTE STAMPS

BLACK INK AND RAINBOW VELLUM
I know its a bit of a cheat calling this a "technique", but it is worth knowing how effective silhouette stamps (this is a lovely example from Darkroom Door) look on rainbow vellum!!

Just be sure to leave plenty of time for the ink to dry as it will take longer than normal paper.  I used Memento, a dye-based ink for this example.  Staz-On would work well as it would dry more or less straight away, but I'd probably steer away from the thicker pigment inks.

Another word of warning......(or do as I say not as I do).....If you look at the base of the left hand side of the windmill you will see a small boomerang mark.  This is not a part of the design but where I left a mark with my fingernail that could not be stamped over. Vellum is very sensitive to pressure so handle with card!

Saturday, 26 April 2014

GLITTER IN LAYERED DIMENSIONAL MAGIC

GLITTERED LAYERS
This week I do have something original. (Well...I'm sure other people have thought of it but I haven't seen it elsewhere!)

I really do need to sort out my approach to taking photos for the blog because I seem to be saying almost every week (or at least every time the photo features something shiny) that it looks better in reality.

What I've done is start with a gloss "flame" shape, then added a thin layer of Dimensional Magic, which I sprinkled with coarse red glitter.  When it was thoroughly dry (overnight), I added a second thin layer which I sprinkled with fine gold glitter, onnce again leaving it overnight to dry.  Lastly I added a final layer of DM.

The result was a "flame" that almost appears to have movement as you look at it from different angles and which really shines and sparkles.  I would like to experiment a lot more with this technique, using different glitters and shapes, perhaps with patterned papers too.

A few words of warning.....if you don't wait for each layer to dry thoroughly the DM will tend to collapse into a hollow in the middle.  If you use too thin a background layer, it will tend to curl as the liquid DM soaks in.  If you try to flatten it the DM will crack.  (Its not the end of the world, you can always rub a bit of ink over and call it "vintage" but it won't be the smooth domed result you envisaged).  Gloss card will help stop this too.

Saturday, 19 April 2014

IRIS FOLDING SCENERY (FROM MICHELLE POWELL'S BOOK)

FOLDED PAPER SCENERY
I really do wish that I could claim that this was an original idea, but it isn't.....its been taken almost directly from Michelle Powell's book on Iris Folding (called, funnily enough, "Iris Folding"!).  If, like me, you love the idea of choosing lots of colours and playing with layers and folds, you'll love this book.  It does contain some traditional patterns but also some really great ideas that can be used in more creative ways......And yes, having had such fun doing this little example, I do plan to try something more original!!!!