Saturday, 7 June 2014

BACKGROUND FROM CRUMPLED PAPER AND DISTRESS INKS

INKED CRUMPLED PAPER
DISTRESS INKS + CRUMPLED PAPER
 I was playing around with distress ink pads (easy to do now that they come in little cubes) when it occurred to me that I hadn't yet put the "classic" inked background on the blog.  I can't pretend that I haven't tried this a time or ten before but still......
Crumple up some thickish paper (thin is OK but it tears easily), unfold it without straightening it completely, wet it well, then just rub a bit of distress ink here and there.  I haven't gone overboard in these examples, so the ink has just caught the top of the folds..  When the paper is dry, flatten it more.  You can use it "as is" or carefully iron it with a coolish iron.  (Make sure the steam is switched off!). Any water-based ink will work, but distress inks are nice and runny to start with and are consequently easy to use for this technique

Saturday, 31 May 2014

BACKGROUNDS IN ELEMENTS WITH DOODLED BRUSHED

If you have Photoshop Elements then its easy to make your own backgrounds. I've used my score board to divide a white A4 paper into 2.5cm squares, and each I've doodled a vaguely flowery or leafy shape with a black marker.  Some turned out well, others not so.........at this stage it doesn't really matter.

Use the selection tool to select one that you like then click on "Edit" then "Save as Brush."  Name it if you want to.  After this its a matter of opening a new file in whatever size you want, make the background whatever colour you want, then click on the brush tool.  Go up to the little picture at the top which shows the brush you've chosen and click on the arrow.  Scroll down and select the brush you have just made.  Chose a size and colour and off you go.  Here are some examples from my sheet...........
 

Saturday, 24 May 2014

PENCILS OVER WHITE INK

PENCILS WITH WHITE INK
 This is an easy way to look like an artist.  Stamp on black paper with white ink (I've used a Versacube and a Darkroom Door stamp).  Colour over the top with pencils (I had some cheap kiddie ones on hand and only a selection of 6 colours, so imagine what you could do with "real" ones!).

Saturday, 17 May 2014

POWDER STAMPING - ONE THAT DIDN'T WORK!

POWDER BUTTERFLY
I have a good habit of noting down ideas as I come across them and a bad habit of forgetting to write down the source.  In any case, this time, although I would usually make an acknowledgement, it probably doesn't matter, as this didn't work for me.

This could be possibly my fault as the original idea was to stamp with a foam stamp using wood glue and then sprinkle with talcum powder for a soft, suede-like result.  Not wanting to potentially ruin any of my stamps I die-cut a butterfly from fun foam and used that as a stamp, and because I used Mod Podge rather than wood glue as I figured both were more or less variants of PVA.

On the first attempt, I brushed the glue on, but the result was very ridgy and the glue oozed over the sides of the stamp.  On the second try, I applied the glue lightly with my finger, as you can see the glue still migrated to the side when pressure was put on the stamp.  Not only that but most of the powder rubbed straight off when the glue was dry.

Despite the fact its very messy, I might have another try as I did like the general result.  Perhaps this time I might mix the talc with the glue and apply it through a stencil - I think it would stay put then.  If not, a sealer might help.

In short, I can't recommend you repeat this technique but at least I might have saved you some time if you wanted to try it.

Saturday, 10 May 2014

STAMP SCRAP STAMP

BACKGROUND STAMP
I'm a huge fan of Darkroom Door stamps - the only downside is that they have to be cut apart.  I haven't actually managed to wreck any yet but the possibility is always in the back of my mind.

Every downside, though, has an upside and all the little leftover bits of rubber will cling to an acrylic block to make a great background stamp.  I dismantled this one before it occurred to me that if I'd stamped it in brown on golden yellow it would be a great "giraffe" fur background....oh well, I can always do it again.

I guess if you were very keen you could cut the little bits of rubber into brick shapes or "stones" but I kind of like the random nature of just using them "as is" (or perhaps I'm just a very lazy person?)

Saturday, 3 May 2014

RAINBOW VELLUM AND SILHOUETTE STAMPS

BLACK INK AND RAINBOW VELLUM
I know its a bit of a cheat calling this a "technique", but it is worth knowing how effective silhouette stamps (this is a lovely example from Darkroom Door) look on rainbow vellum!!

Just be sure to leave plenty of time for the ink to dry as it will take longer than normal paper.  I used Memento, a dye-based ink for this example.  Staz-On would work well as it would dry more or less straight away, but I'd probably steer away from the thicker pigment inks.

Another word of warning......(or do as I say not as I do).....If you look at the base of the left hand side of the windmill you will see a small boomerang mark.  This is not a part of the design but where I left a mark with my fingernail that could not be stamped over. Vellum is very sensitive to pressure so handle with card!

Saturday, 26 April 2014

GLITTER IN LAYERED DIMENSIONAL MAGIC

GLITTERED LAYERS
This week I do have something original. (Well...I'm sure other people have thought of it but I haven't seen it elsewhere!)

I really do need to sort out my approach to taking photos for the blog because I seem to be saying almost every week (or at least every time the photo features something shiny) that it looks better in reality.

What I've done is start with a gloss "flame" shape, then added a thin layer of Dimensional Magic, which I sprinkled with coarse red glitter.  When it was thoroughly dry (overnight), I added a second thin layer which I sprinkled with fine gold glitter, onnce again leaving it overnight to dry.  Lastly I added a final layer of DM.

The result was a "flame" that almost appears to have movement as you look at it from different angles and which really shines and sparkles.  I would like to experiment a lot more with this technique, using different glitters and shapes, perhaps with patterned papers too.

A few words of warning.....if you don't wait for each layer to dry thoroughly the DM will tend to collapse into a hollow in the middle.  If you use too thin a background layer, it will tend to curl as the liquid DM soaks in.  If you try to flatten it the DM will crack.  (Its not the end of the world, you can always rub a bit of ink over and call it "vintage" but it won't be the smooth domed result you envisaged).  Gloss card will help stop this too.

Saturday, 19 April 2014

IRIS FOLDING SCENERY (FROM MICHELLE POWELL'S BOOK)

FOLDED PAPER SCENERY
I really do wish that I could claim that this was an original idea, but it isn't.....its been taken almost directly from Michelle Powell's book on Iris Folding (called, funnily enough, "Iris Folding"!).  If, like me, you love the idea of choosing lots of colours and playing with layers and folds, you'll love this book.  It does contain some traditional patterns but also some really great ideas that can be used in more creative ways......And yes, having had such fun doing this little example, I do plan to try something more original!!!!

Saturday, 12 April 2014

TAPE "FLAGS"


BUNTING WITH DOUBLE SIDED TAPE
This probably isn't the best example in the world but its good enough to give you the idea. (The "string" and star are stickers).  It would look much prettier with a whole row of multicolour flags and a piece of baker's twine.

This is a super easy way to make flag bunting.  Just angle up the ends of double sided tape and place two pieces side by site with the lower edges on the outside.  Next sprinkle with  fine glitter, rub in well and........there you are.....
sparkly bunting!!

Saturday, 5 April 2014

FEATHER COLOURED WITH GLIMMER MIST

BLUE GLIMMER MIST FEATHER
Can you colour white feathers with Glimmer Mist?  Yes, you can!!  I know this is not paper, but colouring card, paper flowers, cotton ribbons and things such as feathers with an ink spray is one way to make sure everything co ordinates beautifully for a variety of paper-based projects.

It does make the sides clump together a tad, but if you don't like this look I think it could be teased back into shape.

Saturday, 29 March 2014

Outline Stickers with Dimensional Magic

DM+Stickers+Pens
I am beginning to like the idea of using alcohol makers (Kaiser pens) under Dimensional Magic.  The beauty of using outline stickers as a base is that the outline forms a little wall that stops the Dimensional Magic from "escaping" as easily as it otherwise might.

In this example I've coloured the large purple flower petals and leaves and just the centres of the smaller yellow flowers.  As has often been the case, the effect, although still on the subtle side, is more apparent in reality than on screen.

I'm kind of coming around to liking outline stickers again too!!!!

Saturday, 22 March 2014

STAMPING ON A CANDLE


This is a long-term Gunnadoo that I have finally actually done!!!  For years I've been reading about stamping onto candles but never quite got around to trying it out .  Basically you stamp onto white tissue paper, then apply it to a candle by holding it in place and heating gently with a craft heat gun (whilst avoiding third degree burns to the fingers) until it fuses with the candle. 

This illustrates why the Papertrek blog is good for me - having decided to do a different thing every week means raiding the dark recesses of the brain for new/old ideas, and not just repeating the same old same old.  (Having said that, even after doing the blog for over two years now, I still haven't quite mastered putting the photos where I want them to be on the page, so apologies for the layout - I must add learning to do this properly to my "Gunnadoo" list!!).

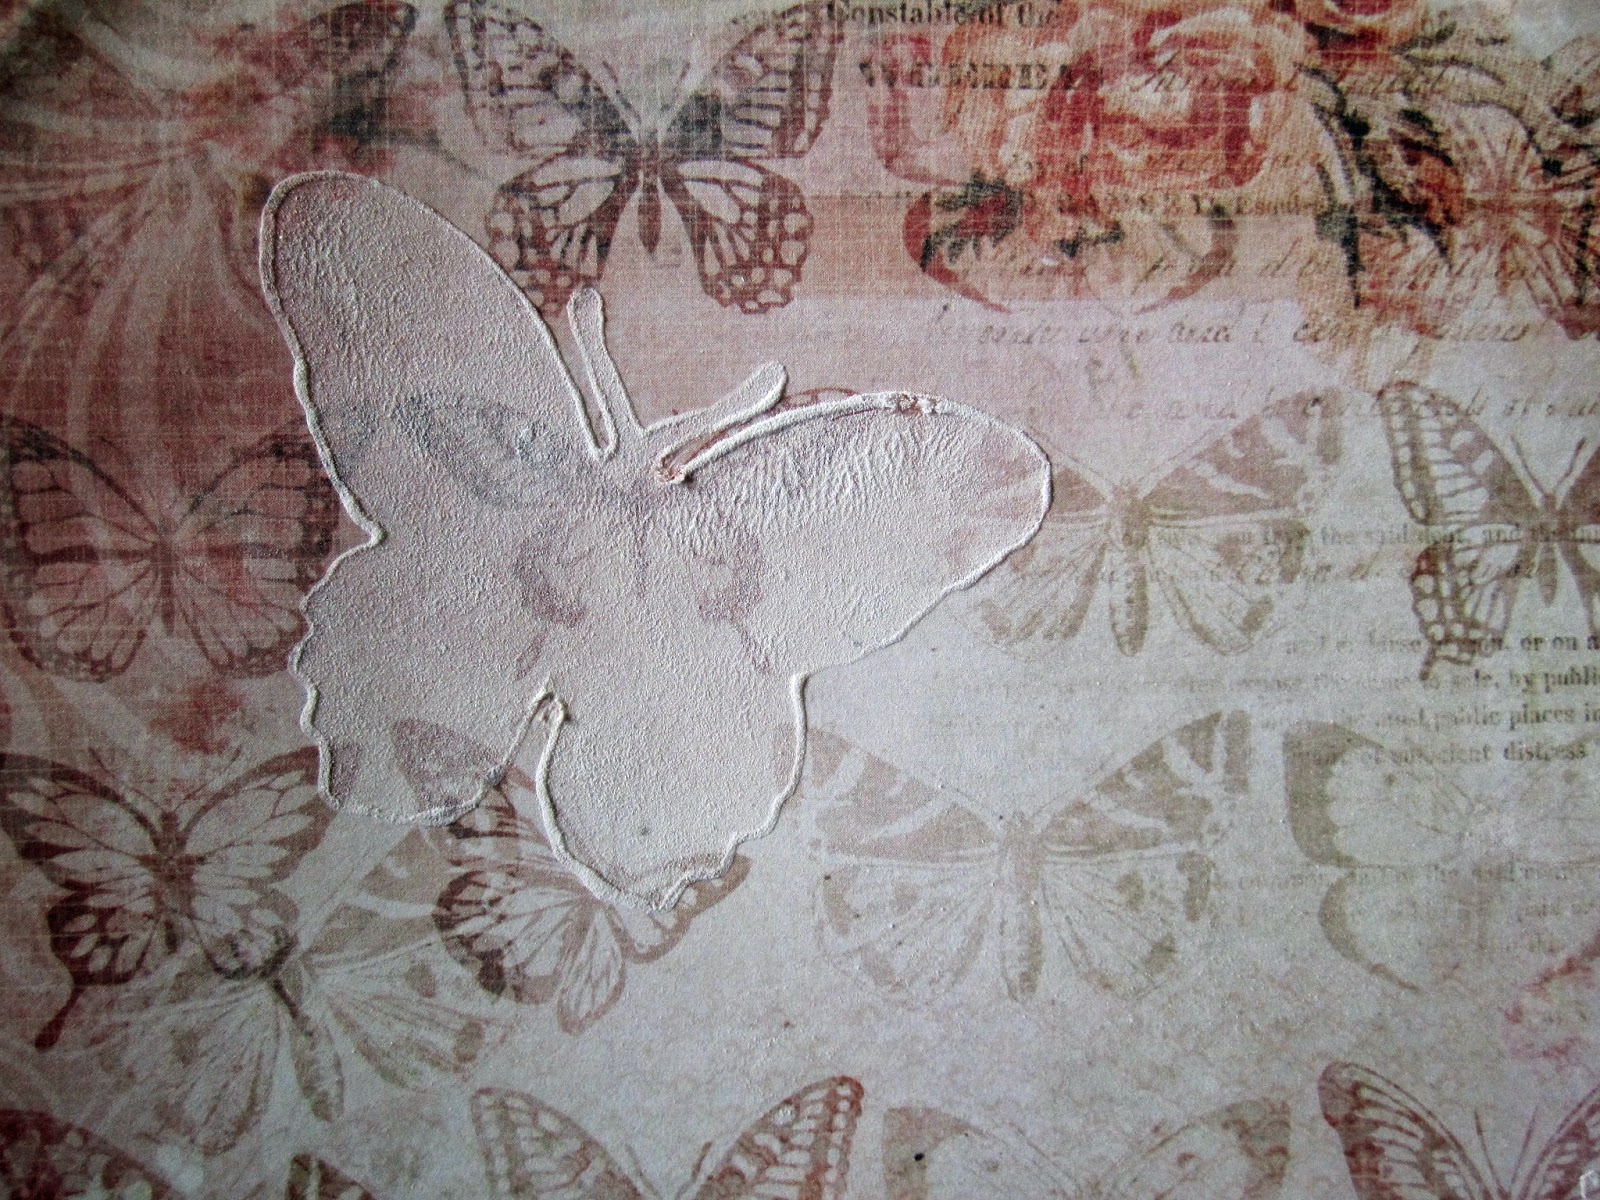
Anyway....back to craft.......Before trying this technique I suspected that the end result would look like a candle with a dodgy piece of stamped tissue paper stuck to it.  The good news is that I was wrong.  Even although I used a piece of tissue paper that came inside the box with my latest pair of shoes, and some very cheap dye ink, the results were great - you couldn't really see the tissue at all, and the image was soft but distinct.

CLOSE-UP OF STAMPED TISSUE PAPER ON CANDLE
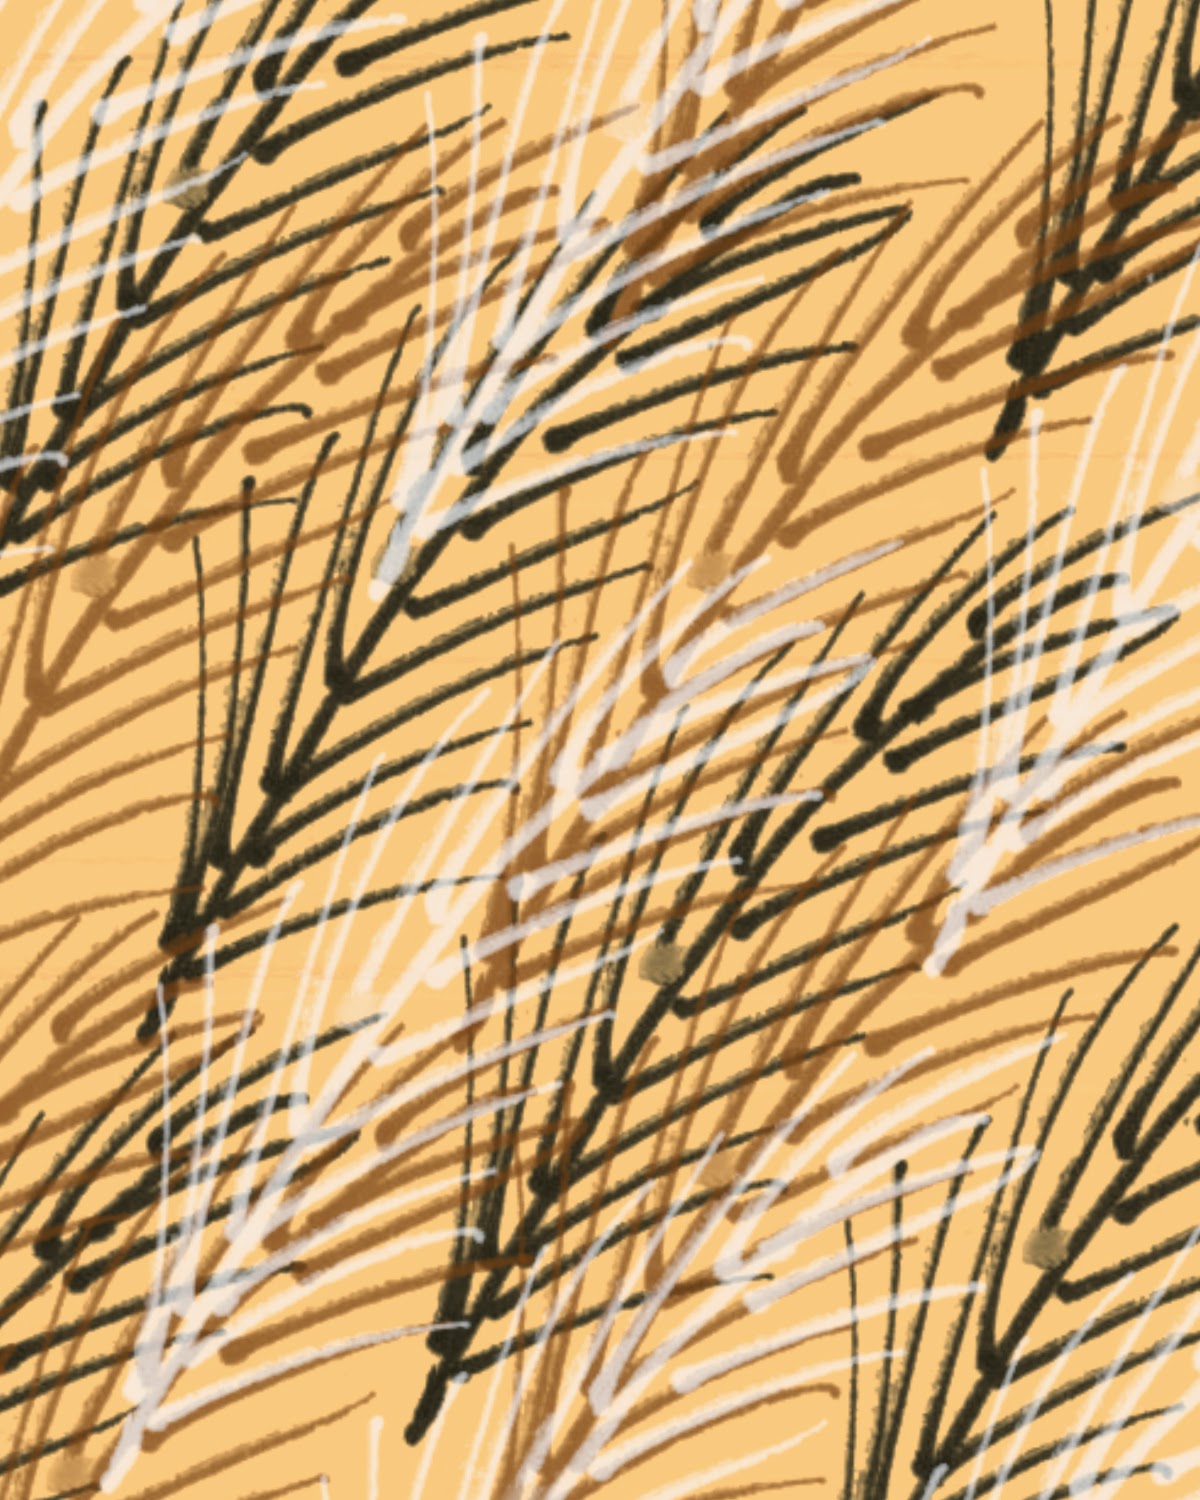
This was the point when I became overconfident and tried a huge red stamped rose on a big blue candle......well, the colours worked OK.  I thought the ink might be translucent and that I would end up with a purple rose, but that didn't happen.  Even the white tissue blended OK with the blue candle.  What did happen was that with my handheld craft heat gun I was unable to apply an even amount of heat all over the paper so that some pieces failed to blend in with the candles and others sank in.  Also where the wax was overheated and slightly melted its colour changed to a lighter blue.  As you can see from the photo, the result was "ordinary" to put it mildly.
 
WHAT NOT TO DO
STAMPED CANDLE
I guess what I've learned is that small motifs on white candles are easiest to apply, and that if you were, say, intending to do 50 large candles for wedding tables, I'd buy a few more than needed, spend some time practising, and have a few spares as well!!

I haven't burnt the candle to see whether or not there are any implications when the level of the paper is reached.  I don't anticipate any dramas but wouldn't leave them unattended until I definitely knew the paper wasn't going to burn!!!  (Another little something to try before you use them at a social occasion!).

Saturday, 15 March 2014

CROCHET FLOWER GREETING CARD

CROCHET FLOWERS
There are so many sources of crochet flower patterns at the moment.  I bought myself a book by Claire Crompton that has lots but there are any number of free patterns available on the web, and once you get started its not all that hard to just make it up as you go.  The first picture is a mix of all three origins.

I find crochet really relaxing, and have any number of bags and purses to prove it.  Flowers are fun because you get the reward of having finished something quickly.  Then, of course, you are left with bags of flowers, and good intentions of finding something to do with them.

As this is the Papertrek blog, here's one thing to do with surplus crochet flowers - combine them with an embossed and sanded piece of Core'dinations Whitewash, pop them on a card blank and give them away to the next person you know who has a birthday!!!!
CROCHET FLOWER CARD

Saturday, 8 March 2014

SNOWTEX AND GLITTER

DIECUT STENCIL+SNOWTEX+GLITTER
I was cutting out snowflakes with a die from Couture Creations and thought I'd use one of the cut out backgrounds as a stencil for Snowtex.   I was pleasantly surprised with how well it worked as this has quite fine detail, and I was expecting it to smear under the edges.  Snowtex is a very thick white texture paste.  Whilst it was still wet I added loads of fine glitter, which (despite some reservations on my part as to whether or not it would be the case) stayed put once the Snowtex was dry.  The result is a rough dimensional glittery motif, that I rather like.  (It looks better in reality - the photo doesn't do justice to the sparkle).

Saturday, 1 March 2014

STAMPING ON CORK

STAMP WITH COLOURED PENCILS ON CORK
There's a simple example of a simple idea this week.  Stamps will (with the correct ink) stamp an image onto any number of different surfaces.   Cork works well with most inks - I've just used Versafine sepia on a stamp from Rubbadubbadoo in this example, and coloured it in with pencils (nothing fancy, just some of the kids cast-offs).

The very thin cork I've used here tends to be a bit crumbly so I've punched slightly larger holes than I would normally make for the split pins.  Tearing the edges proved quite hard to control, so I had to resort to a ruler on the outer boundary to make sure it didn't tear too far.

I have written myself a mental note to try some other colouring media on cork to see how that turns out.