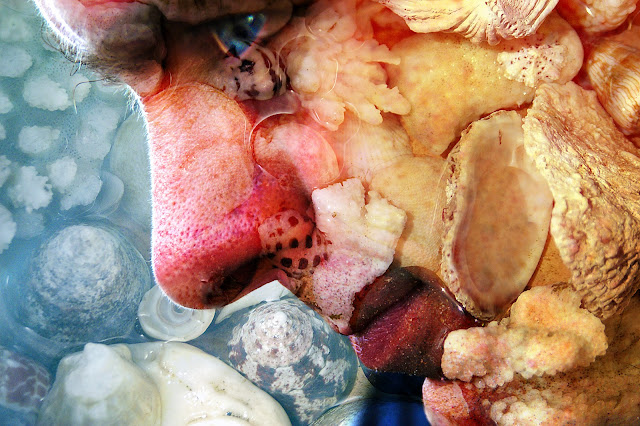
Just for a complete change....here is a
photo I made years ago (yes...I know the idea is to try new things
but when I rediscovered this image I couldn't resist a little “show
and tell”). As a long time passed since I did this, I can't
remember the specific details, but it doesn't really matter as each
photo is unique and will need slightly different treatment to get a
similar result. The process if you want to play, though, is
straightforward. Take two photographs – a close-up of a face
(side-on may work best as there's more skin and less features), and
something for “texture”. My husband who only looks half this
scary in reality was “the face” and the texture was a dish of
shells (you could use a tree trunk or grass or dog fur or pasta etc
etc). In Photoshop or Elements open both pictures and
drag the texture over the face. Try each of the blending modes in
the layers palette until you find one you like. Now you need to
select the eraser and remove the texture from any important details
that may be obscured. This is especially important for the eyes, as
they are the feature that attract most attention. In this case I
then selected the eye and increased the saturation so it was quite
intense, and added a little glint of “light”with the brush tool,
although this is optional. Finally collapse your layers and save the
image. You won't always get wonderful results but its fun playing
around until you find a successful combination.

No comments:
Post a Comment