Showing posts with label Misc. Show all posts

Saturday, 17 October 2015

ACCORDION FOLDED SEWING KIT

Closed Sewing Kit

Open Sewing Kit
I have lots and lots of paper.  I am not complaining about this fortunate state of affairs, but every now and then I do feel that perhaps I should actually use some of it.

As I seemed to be forever borrowing sewing needles from the ladies at work, these little kits seemed appropriate.

I just folded a long strip of textured white card three times (to make four panels) - up then down then up again to make an accordion.

I added paper to the back panels, securing a ribbon under the end one (which becomes the front of the book) so that it can be tied around the book to keep it closed.

On the other side I added little pieces of felt secured with split pins to sticky backed magnets to hold needles and pins, and a little pocket to hold a bobbin shaped piece of card wound with three different colours of cotton.

They won't last forever but don't take too long to make and are very functional - just a nice size to slip in your handbag (or desk drawer for the next time some annoying person like me wants to borrow a needle or pin!)

Saturday, 4 July 2015

EASY FRIDGE MAGNETS

FRIDGE MAGNETS
Here are a couple of ideas for easy fridge magnets.

The first isn't strictly papercraft but it does involve a couple of things you might have in your craft room - the thin magnet sheet that comes with most dies, a die (in this case a Spellbinders dress stand), and a die-cutting machine in which to use it.  (I used my trusty Cuttlebug).
I expected to be able to cut the shape with the die, but was pleasantly surprised to find that with the rubber embossing mat, the detail could be embossed onto the magnet!  I made this over a year ago, and have been kind of waiting for the detail to disappear - it hasn't!

The second magnet is just some pretty Washi stuck onto a glass cabouchon, with a fairly heavy duty magnet (due to the weight of the glass) stuck onto the back.

I'm happy enough with both of them to allow them a spot on the side of the fridge!

Saturday, 17 May 2014

POWDER STAMPING - ONE THAT DIDN'T WORK!

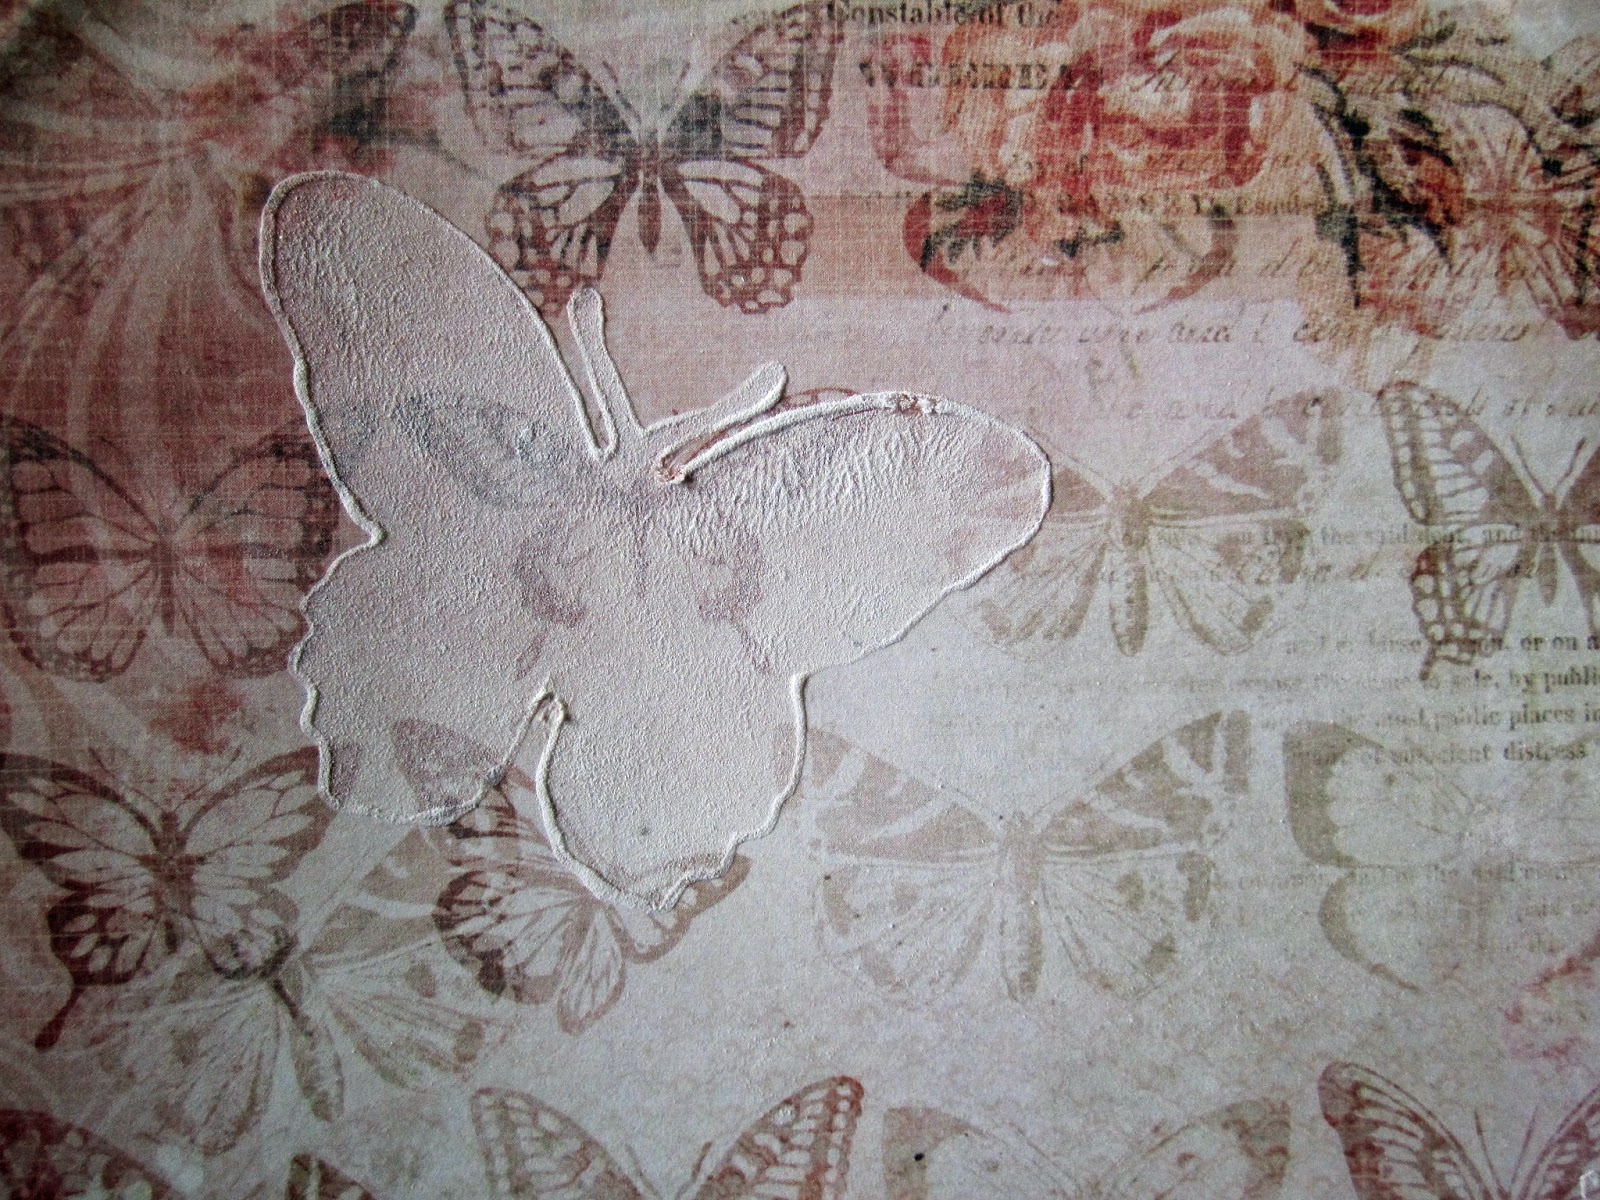
POWDER BUTTERFLY
I have a good habit of noting down ideas as I come across them and a bad habit of forgetting to write down the source.  In any case, this time, although I would usually make an acknowledgement, it probably doesn't matter, as this didn't work for me.

This could be possibly my fault as the original idea was to stamp with a foam stamp using wood glue and then sprinkle with talcum powder for a soft, suede-like result.  Not wanting to potentially ruin any of my stamps I die-cut a butterfly from fun foam and used that as a stamp, and because I used Mod Podge rather than wood glue as I figured both were more or less variants of PVA.

On the first attempt, I brushed the glue on, but the result was very ridgy and the glue oozed over the sides of the stamp.  On the second try, I applied the glue lightly with my finger, as you can see the glue still migrated to the side when pressure was put on the stamp.  Not only that but most of the powder rubbed straight off when the glue was dry.

Despite the fact its very messy, I might have another try as I did like the general result.  Perhaps this time I might mix the talc with the glue and apply it through a stencil - I think it would stay put then.  If not, a sealer might help.

In short, I can't recommend you repeat this technique but at least I might have saved you some time if you wanted to try it.

Saturday, 21 September 2013

TEALIGHT CANDLE HOLDER

TEALIGHT CANDLE HOLDER
We've been playing with our new(ish) forstner drill bits.  Marvin (the pseudonym preferred by my husband for the purposes of this blog....."dreadful, isn't it") made this tealight holder with cut-outs for the candles and for glass cabochons  We put some lovely blue-green paper with silver detail underneath the glass.  The photos don't really do it justice but the metallic pattern glints beautifully when the candles are lit.

Saturday, 3 August 2013

CABOCHON NECKLACES FEATURING PAPERS

IDEAS FOR BEZEL & CABOCHON PENDANTS
I've been experimenting making pendants with bezels and glass cabochons,  I think some work better than others but all of them are wearable.  Plus, I had lots of fun playing!!!

Saturday, 29 June 2013

EARRINGS

NIB EARRINGS
This is quite probably more accurately paper-related rather than papercraft as such but........I was rather pleased with these earrings - just made with an iron ore bead threaded onto a beading post which is then threaded through a hollow nib.  (This one is designed for use with a Pergamano tool).  A jump ring and posts are added to finish - literally five minutes work from start to finish and yes, I have worn them several times and no, I haven't skewered myself on the pointy ends yet!

Sunday, 9 June 2013

DREMEL AND CHIPBOARD

CHIPBOARD WITH DREMEL DECORATION
This is a little sample I did to answer the question of whether or not I could use my Dremel heat tool to scorch a design into chipboard (without setting it on fire!!!).  The answer is obviously "Yes I can" which opens up a whole new set of ideas to explore!  (And as must be obvious from my rather dodgy example.....new skills to practise!!)

Saturday, 11 May 2013

RESIN V DIMENSIONAL MAGIC

We bought ourselves a Forstener drill bit....its the sort that drills a large hole with a flat bottom.  My husband is a woodworker and I am (obviously) interested in all things papery so we have been trying some ways of combining the two.

We were aiming at a sort of shiny button effect (with the thought of using it to decorate wooden boxes or jewelry) so we compared paper covered with Dimensional magic to the same covered with two-part resin.  Neither seemed to cause the dye in the (Kaiser) paper to run which was good as I had anticipated we may need to seal it first (I'd still do a test run before a proper project with other papers).  The DM despite my best efforts still had a couple of bubbles.  I'd read that a heat gun would cause them to disappear so duly got out my embossing heat gun and........nothing at all happened to the surface  at all  until the whole thing essentially started to blow up like a big bubblegum bubble and then burst!!!!  This was amusing  but not very encouraging as the end result was all cracked and scratched.  I popped the bubbles on the "second try" effort with a pin, which worked better.  The finish on the two part resin was by far the smoothest and shiniest but it had the effect of greatly darkening the paper which wasn't entirely ideal either.

The end result is that both finishes have potential but drawbacks..........more playtime needed!!!