Playing with paper - a technique a week for those who enjoy the journey as well as the destination!
Saturday, 25 August 2012
FLOWERSOFT WATTLE
Saturday, 18 August 2012
VERY EASY PAINTED BACKGROUND
Two postings in one day! I was asked to put this background up after the recent demo I did. So here it is!!
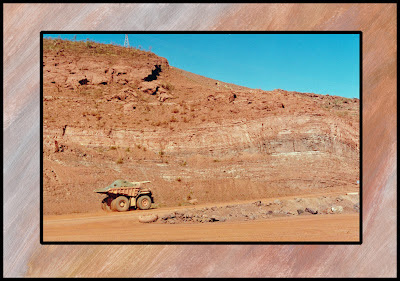
Its a super easy one - I wanted some background paper on which to mount my pictures of the Pilbara, and so just blobbed some silver, gold and copper straight onto light card (directly from the tube of acrylic paint), and spread it with a brush so that areas blended and the whole page was covered.
For something that took two minutes it turned out exactly as I had hoped, and I'll be making some more.
I scanned it and used it to make up a title too. (Just open another layer over the top of the scanned painted paper, type in your title, select it using the magic wand tool, then cut out the selection to reveal the painted "filling" underneath before collapsing the layers.
LEAF RUBBINGS
 |
| Original Leaf Rubbings |
 |
| "Stamp" |
 |
| Color Burn, Diffuse Glow |
Labels:
Crayons,
Digital techniques,
Rubbing
Location:
Riverside TAS 7250, Australia
Saturday, 11 August 2012
OVERSTAMPING
I'm doing a demo for work that involves ATC styled cards and made this one for that reason. Its about as simple as you can get in this regard. All the stamps came from a Stamp-It uncut sheet, and the technique was just to stamp them, each on top of the other, using a different colour of ink for each. I did have to experiment a bit to get the colours in an order that I liked but all in all its a very quick technique that looks a lot better than I had anticipated i.e. I plan to do this more often. The word "Free" was made with Kaiser alphabet stickers - I didn't have any that looked quite right so I just smeared some black ink over some cream ones. As mentioned, I was doing this for a reason, and I think if I was just making something for myself I'd probably substitute a stamped word for the stickers
Labels:
Background techniques,
Stamping,
Stickers
Location:
Riverside TAS 7250, Australia
Saturday, 4 August 2012
PAINT AND PRINT BACKGROUND
 |
| Hessian Print |
 |
| Onion Bag Print |
I've been printing with paint......nothing too difficult, basically just painting on some Kaiser acrylic paint straight from the tube and then pressing the object onto some light card. The green sample is hessian, the red print was made with an onion bag. Both were a bit hard to press down on "as is" so I covered the painted item with a piece of scrap card and lightly brayered over the top to apply the pressure to print. The rose stamp is from Rubbadubbadoo and was stamped with Staz On onto acetate. The image was then coloured in with a red Sharpie pen.
Labels:
Background techniques,
Paint,
Prints,
Stamping
Location:
Riverside TAS 7250, Australia
Subscribe to:
Comments (Atom)


